Sublimation 101: An Introduction to Sublimation
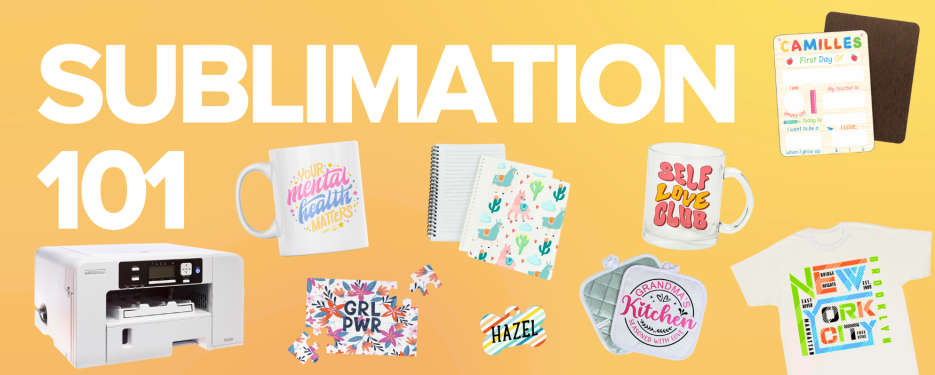
Have you been looking for a new creative outlet or a way to turn your crafting hobby into a profitable business venture? If so, then you've come to the right place! Today we will be diving into the world of sublimation – an exciting printing technique that has taken the crafting and customization industry by storm. Whether you're familiar with sublimation or completely new to it, this blog post will serve as your ultimate guide on all things sublimation. So, grab your favorite cup of coffee, and let's explore this colorful and versatile form of art together!
How Is Sublimation Different from Other Printing Techniques?
Sublimation is a unique printing technique that involves transferring ink onto a polyester coated fabric or surface using heat and pressure. Unlike other printing methods, such as screen printing or heat transfer vinyl, sublimation allows for a more precise and vibrant outcome. The process involves printing the artwork or design onto special sublimation paper using a sublimation printer. From there, the paper is placed onto the surface of the blank material and heat pressed for a certain amount of time depending on the substrate. This causes the ink to turn into a gas, which then permeates the fibers of the material and permanently dyes the surface. (If you want to know more about the science behind it, refer to this blog.)
The result is a gorgeous, high-quality image that won’t fade or peel. Whether it’s for customized shirts, mugs, or ornaments, sublimation’s versatility and permanence make it a popular choice for anyone looking to create a lasting impression.
What Equipment Do I Need to Get Started?
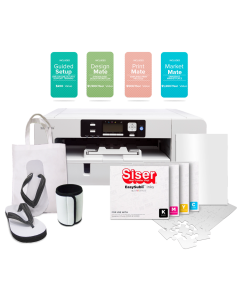
Setting up a home setup may seem daunting, but rest assured it can be done affordably and easily. The equipment needed includes a printer, heat press, sublimation ink, and paper. To get the best results, it's important to choose equipment that meets your needs.
- Sublimation Printer
- The market offers a wide range of sublimation printers to cater to different production needs. If you're just starting, we suggest starting with a desktop sublimation printer like the Sawgrass SG500. As your business grows and you require faster output to meet increasing demand, consider upgrading to a more advanced sublimation printer such as the Epson SureColor F6470 or the Epson 9470. These models represent the pinnacle of sublimation printing technology and are worth the investment.
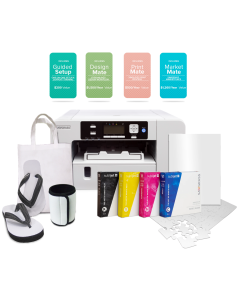
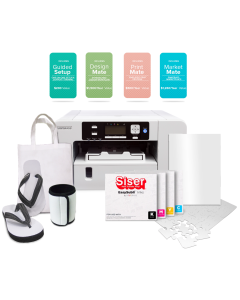
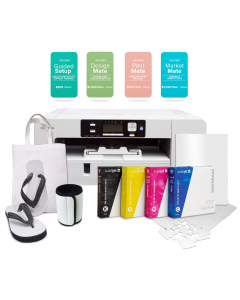
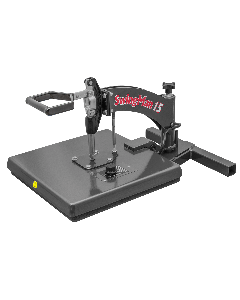
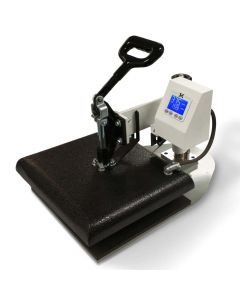
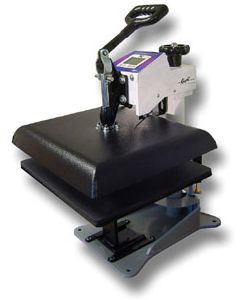
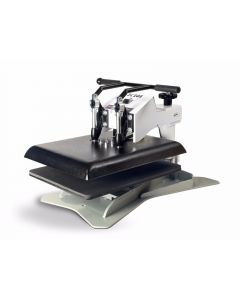
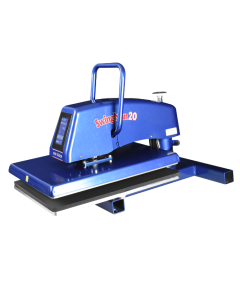
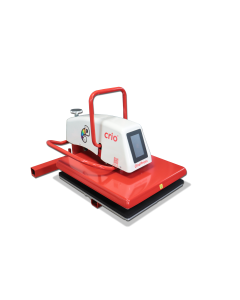
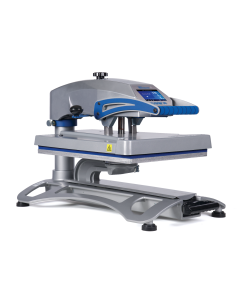
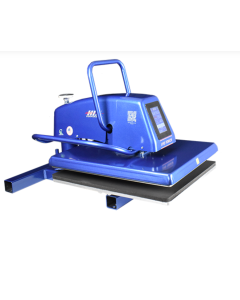
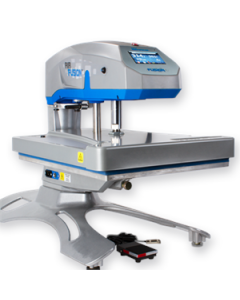
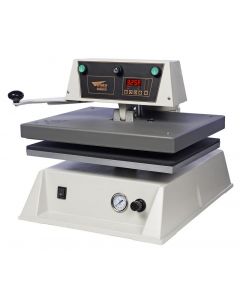
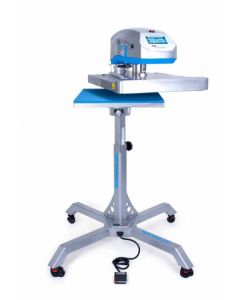
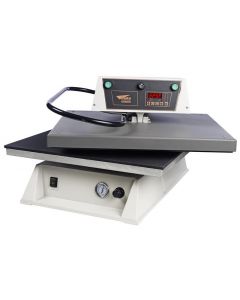
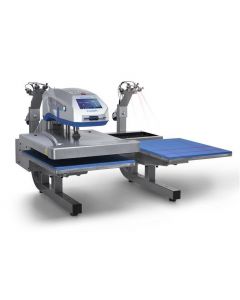
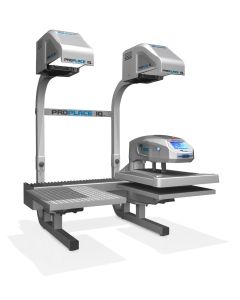
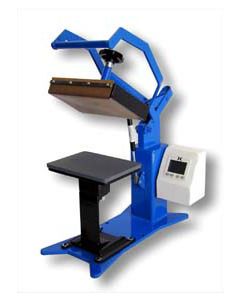
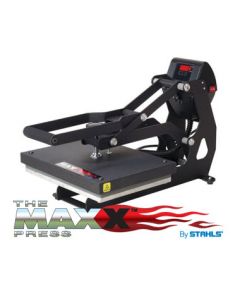
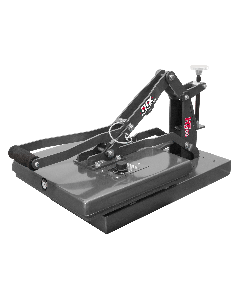
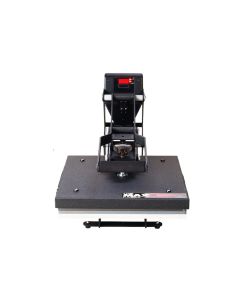
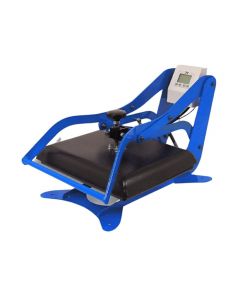
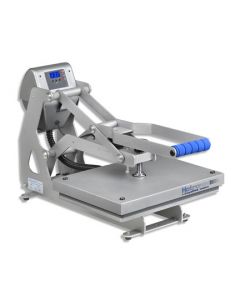
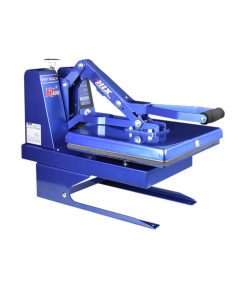
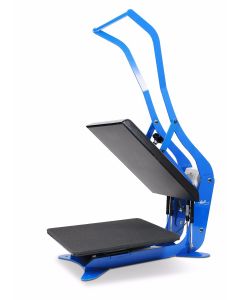
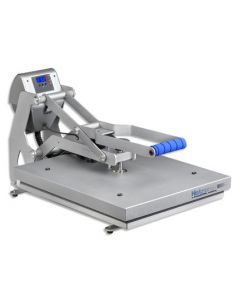
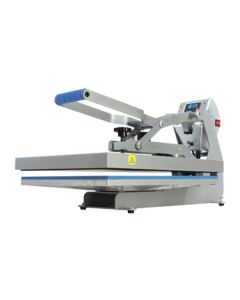
- Heat Press
- Next up is a heat press, this handy gadget uses the perfect blend of heat and pressure, applied to a substrate like a t-shirt or a mug, for a certain amount of time. This process enables the ink to fuse seamlessly into your fabric or surface, making it permanent.
- Just like with sublimation printers, the market is flooded with a vast array of heat presses, and it's easy to feel swamped by all the choices. Both the clamshell and swing-away heat presses are great tools. The clamshell press is ideal for thin materials like sublimation blanks because it applies even heat across the surface, ensuring a perfect print. Conversely, the swing-away press is better suited for thicker materials, as it can apply greater pressure and heat, ensuring an excellent transfer even in dense materials. We recommend purchasing a swing-away machine as it will remain suitable for your business as it grows.
- Another primary aspect to consider is the size of the press. A 16" x 20" heat press, such as the Geo Knight DK20, is considered the industry standard and it's versatile enough to handle almost any task. Plus, it's a good investment for the future as it can accommodate larger designs when your business expands. However, if you're working on a tighter budget and can't afford a 16" x 20" model right away, you can start with a smaller one, say a 9" x 12" press, and gradually work your way up!
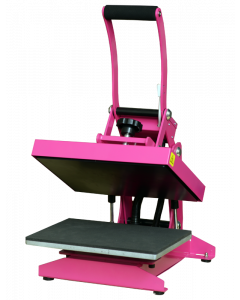
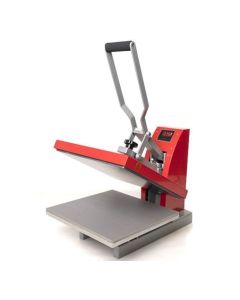
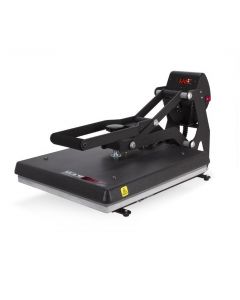
Swing-Away Heat Presses - Best for Sublimation! Achieves even pressure across many substrates.

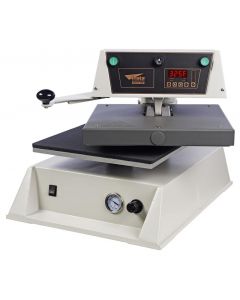

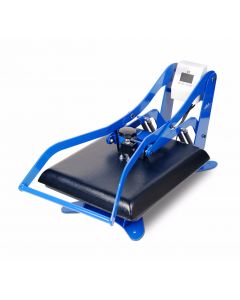
Clamshell Heat Presses - Budget Friendly! Great for pressing thin substrates.


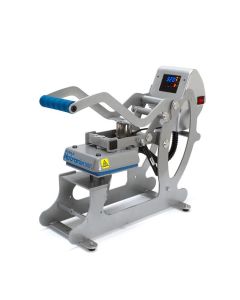
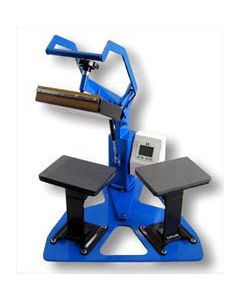

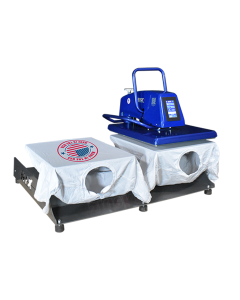
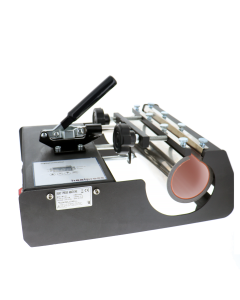
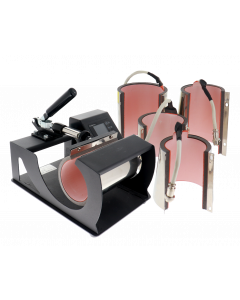
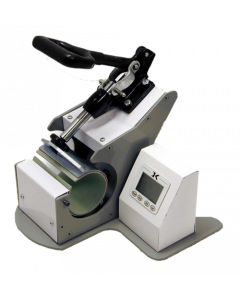
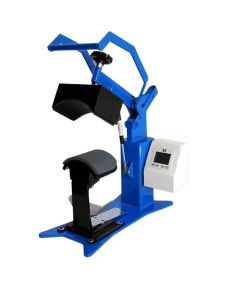
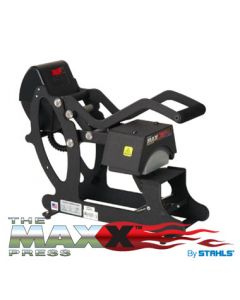
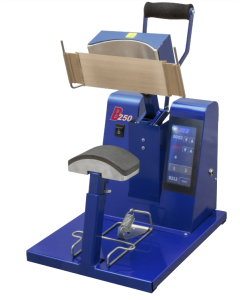
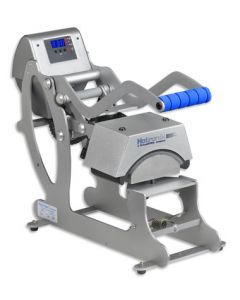
Mug and Hat Presses! Great add-on presses to offer more to your clientele!
-
 Tumbler Heat Press - OVERSTOCKSpecial Price $170.00 Regular Price $285.00
Additional Sublimation Supplies
Once you’ve picked up your sublimation printer and heat press, you’re almost ready to go! The last few things you need are your supplies. Let’s go through each of them.
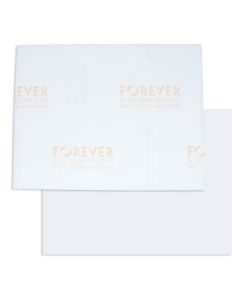
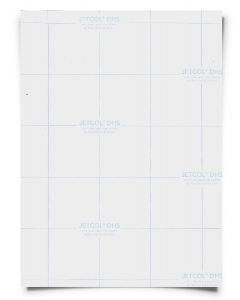
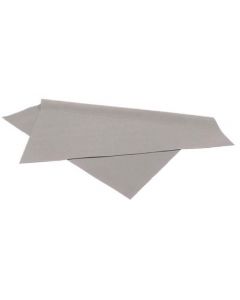
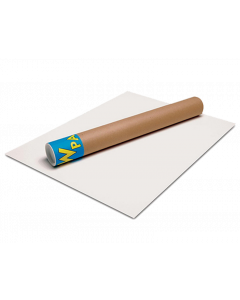
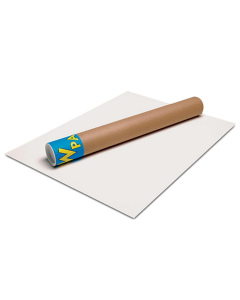
- Sublimation Paper
- A good place to start is Image Right Sawgrass Sublimation Printing Transfer Paper. It is an excellent choice for sublimation needs due to its fast-drying time, and high-resolution printing quality. It is compatible with Sawgrass printers and versatile for various hard surfaces, offering vibrant, long-lasting prints.
-
 FOREVER Subli-Light No-Cut Sublimation Paper for Cotton - 11" x 17" - 10 sheets - CLEARANCESpecial Price $15.00 Regular Price $17.95


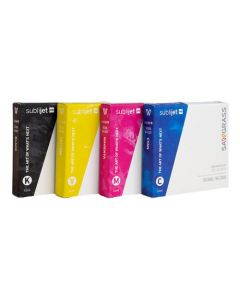
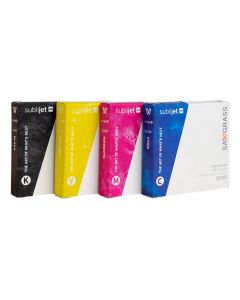
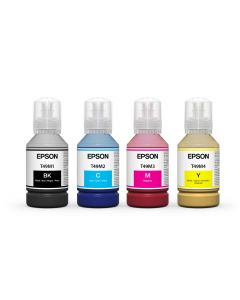
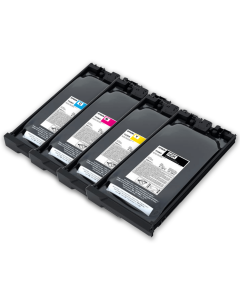
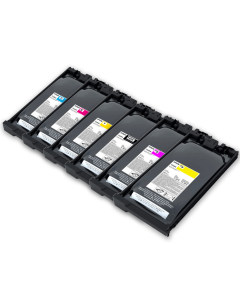
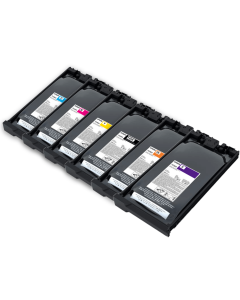
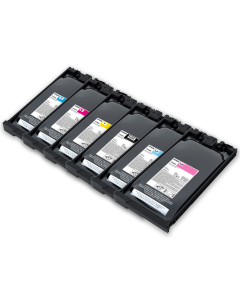
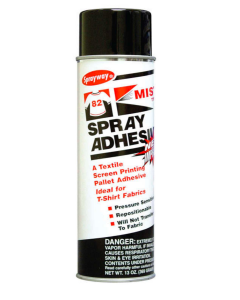
- Sublimation Ink
- Sublimation ink is a special ink used in sublimation printers for creating vibrant, durable prints. The Sawgrass SubliJet-UHD SG500/SG1000 Sublimation Ink is ideal for Sawgrass printers, delivering high-definition, richly colored prints and efficient ink usage. Alternatively, the Epson UltraChrome DS Sublimation Ink Bottle is designed for Epson F170 / F570 Printers, offering superior color saturation, contrast, and sharp resolution. Both options provide exceptional print quality, compatibility, and ease of use, making them excellent choices for your sublimation printing tasks. If you are using a large format printer, like the Epson F6470, we recommend using Epson Ink Packs which allows you to achieve superior tone gradations, fine detail reproduction, and advanced photo quality.
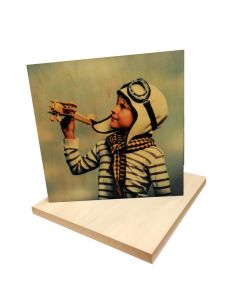
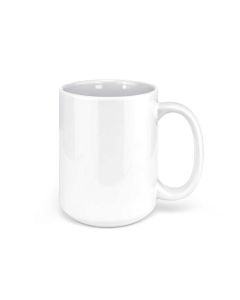
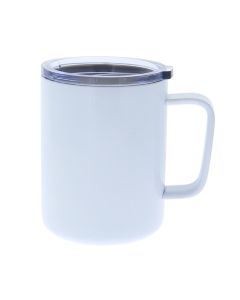
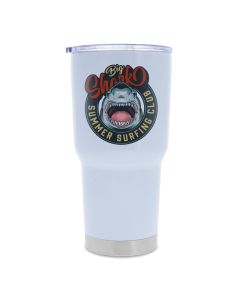
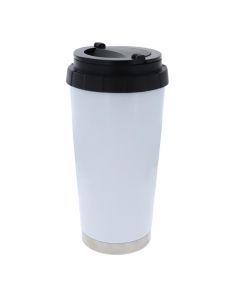
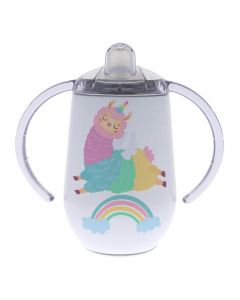
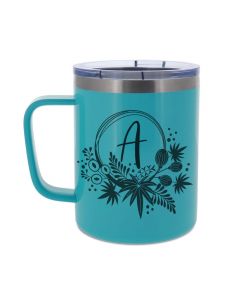
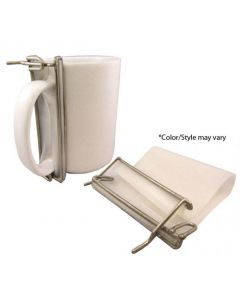
- Blank
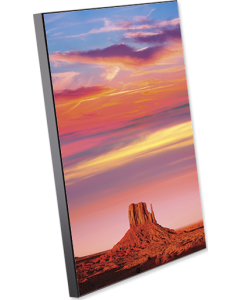
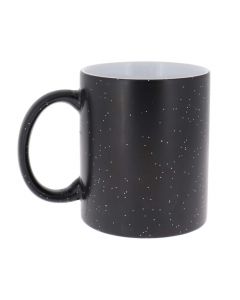
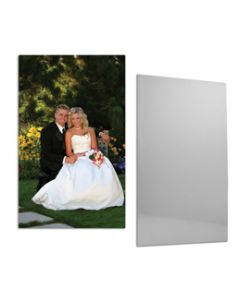
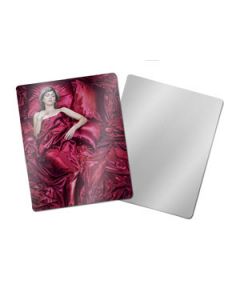
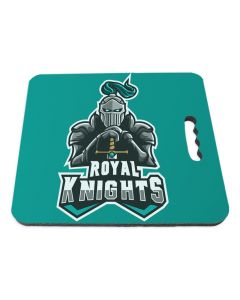
- A sublimation blank is a product that's been pre-treated with a special polyester coating, allowing sublimation ink to permeate its surface and create a durable, vibrant design. Popular options for beginners typically include mugs, tumblers, and T-shirts due to their simplicity and demand. As crafters become more experienced, they often expand to a wider variety of blanks including mouse pads, key chains, photo panels, and even hats. These diverse options enable crafters to continually explore and expand their creativity and product offerings.


- Silicone Cover Sheet
- A Silicone Cover Sheet is a heat-resistant material often used as a protective barrier in sublimation processes. It serves to protect both the heat press and the sublimation blank from any stray ink or excess adhesive that might escape during the heat transfer process. By preventing these materials from sticking to the press, it helps maintain the cleanliness of your equipment and the quality of your finished products, making it an essential tool for any sublimation project.
- Heat Tape
- Heat tape is a special kind of tape that's heat-resistant, often used in the sublimation process to hold designs in place on substrates during heat pressing. It ensures that the design doesn't move or warp, which could result in a blurred or imperfect final product. The tape can withstand the high temperatures involved in sublimation without melting or leaving residue, making it an essential tool for achieving precise and professional-looking results.
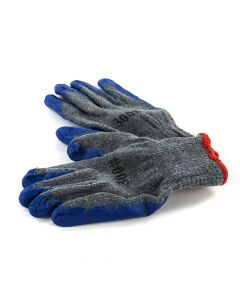
- Heat Gloves
- Heat gloves are specially designed to protect your hands from the high temperatures involved in the sublimation process. They are made from heat-resistant materials that can withstand the extreme heat of a press machine, preventing burns and injuries. Using heat gloves is essential when handling hot sublimation blanks or operating a heat press, ensuring your safety while you create beautiful, customized items.
- Designs
- Designing for sublimation can be both fun and challenging. When it comes to file formats, it's best to stick with high resolution PNG files with transparent backgrounds, as they provide the best results for sublimation transfers. In terms of image resolution requirements, the minimum is 300 DPI (dots per inch) for optimal print quality.
When creating designs, it's important to keep in mind the limitations of the sublimation process, such as the size and shape of the product being used. Additionally, it's helpful to know that there are a variety of free and paid design templates available online to help kickstart your creativity. By following these design considerations and utilizing resources such as templates, you can create stunning sublimation designs. Check out our Digital Marketplace.
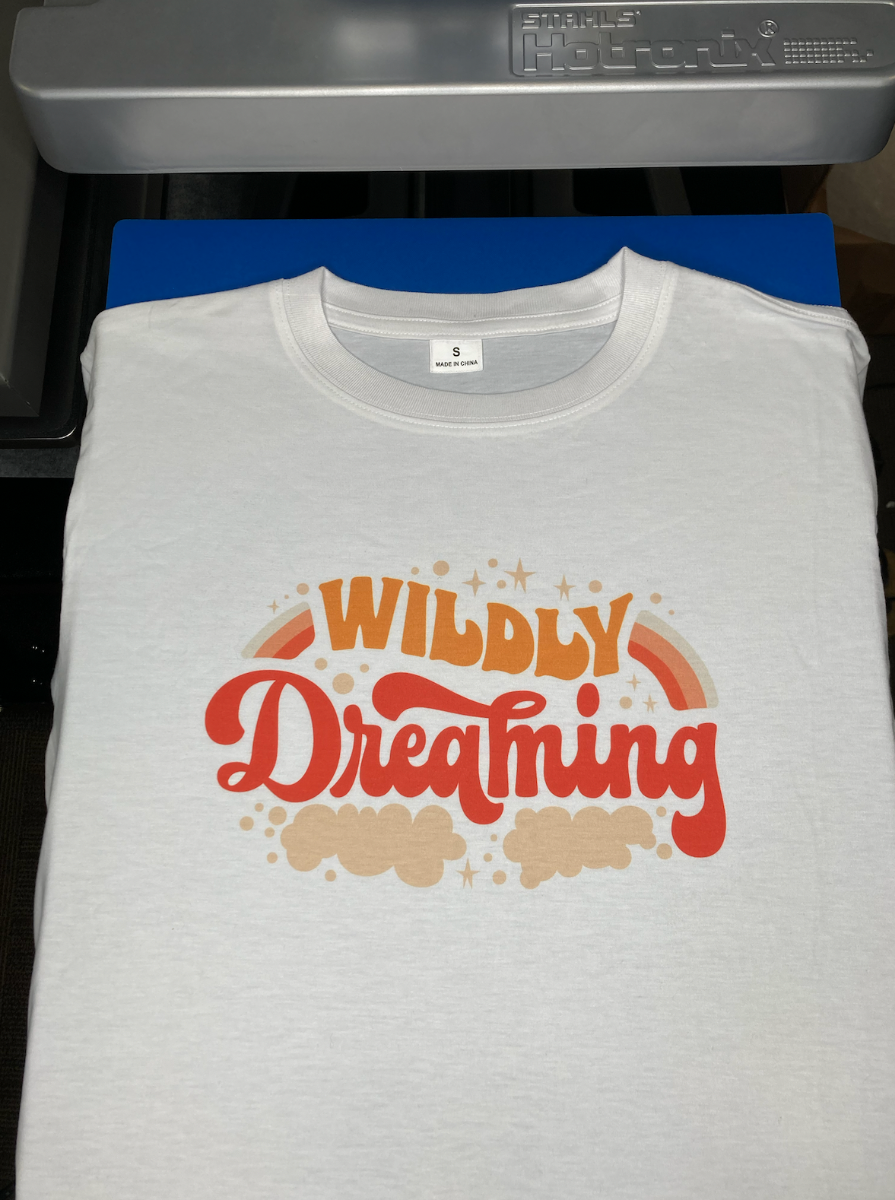
Remember, with sublimation printing, vibrant and durable results are possible on a wide range of garments. Don't let the initial setup scare you off from experimenting with this fun and unique printing technique!
What Can I Sublimate?
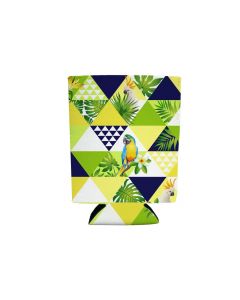
Sublimation offers a world of possibilities for personalization and business growth. Everyday items like puzzles, keychains, blankets, and more can be transformed into unique, personalized pieces, expanding your product offerings. The quality of the sublimation blanks you choose is crucial to achieving high-quality results; wholesale options offer value for businesses planning on creating multiple items.
Beyond personal use, sublimation printing opens opportunities for creating customized gifts, home décor, and apparel, offering significant potential for business expansion. Imagine surprising customers with bespoke gifts or offering unique, personalized home décor items like wall art or photo canvases. The fashion industry also holds vast potential, with the ability to create custom t-shirts, hats, bags, and more that reflect individual style and personality.
With a sublimation printer, creativity, and high-quality blanks, the opportunities for personal projects and business growth are truly limitless. Plus, the longevity of sublimated images ensures your creations will stand the test of time, providing lasting value to your customers and boosting repeat business.
How to Use Sublimation to Create Your First Custom T-Shirt or Mug
If you're new to sublimation, the process can seem daunting at first. Luckily, with just a few simple steps, you can create high-quality prints on a variety of items.
Step 1: Gather Your Supplies
Before you begin, grab the essential items we talked about earlier:
- A sublimation printer
- A heat press
- Sublimation ink
- Sublimation paper
- A polyester t-shirt or a ceramic mug with a special poly-coating for sublimation
- Heat-resistant tape
- Heat gloves
- Teflon Sheet or Butcher Paper
- Design
Step 2: Create/Buy Your Design
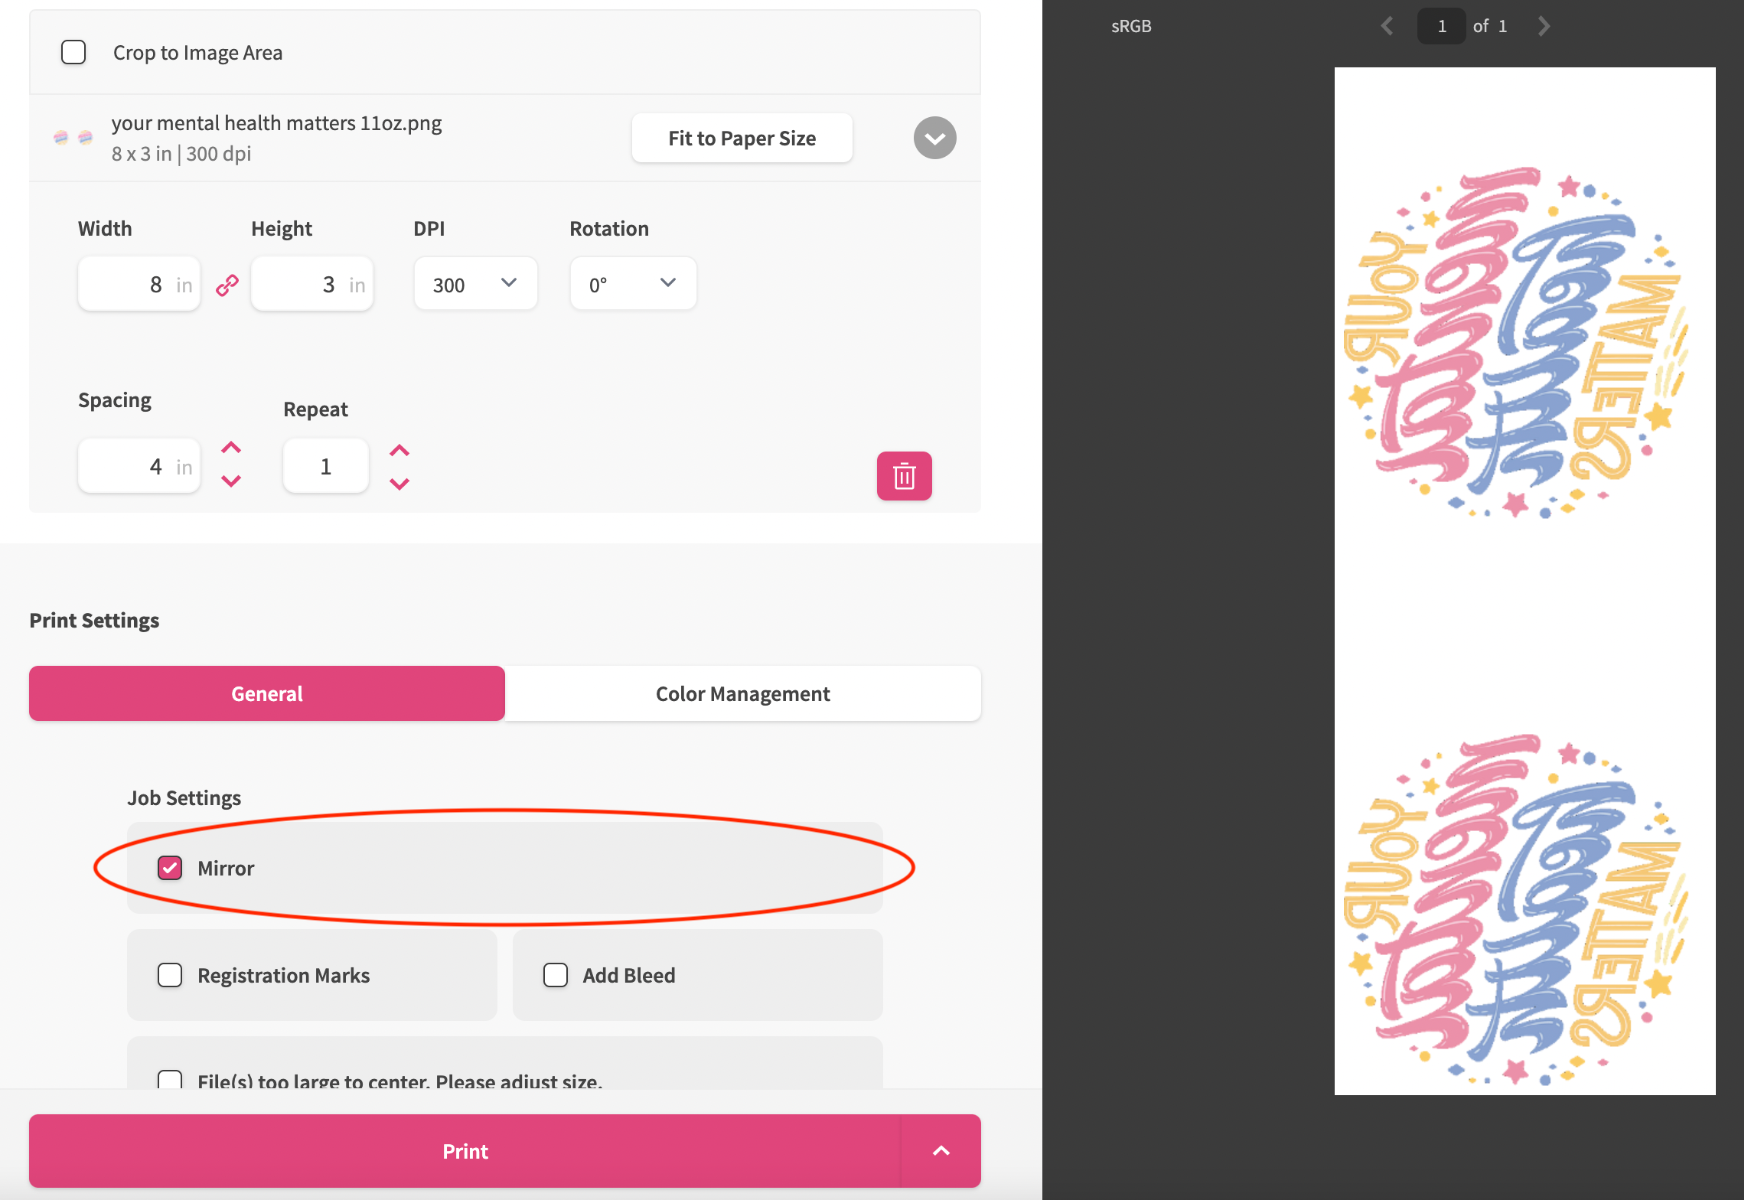
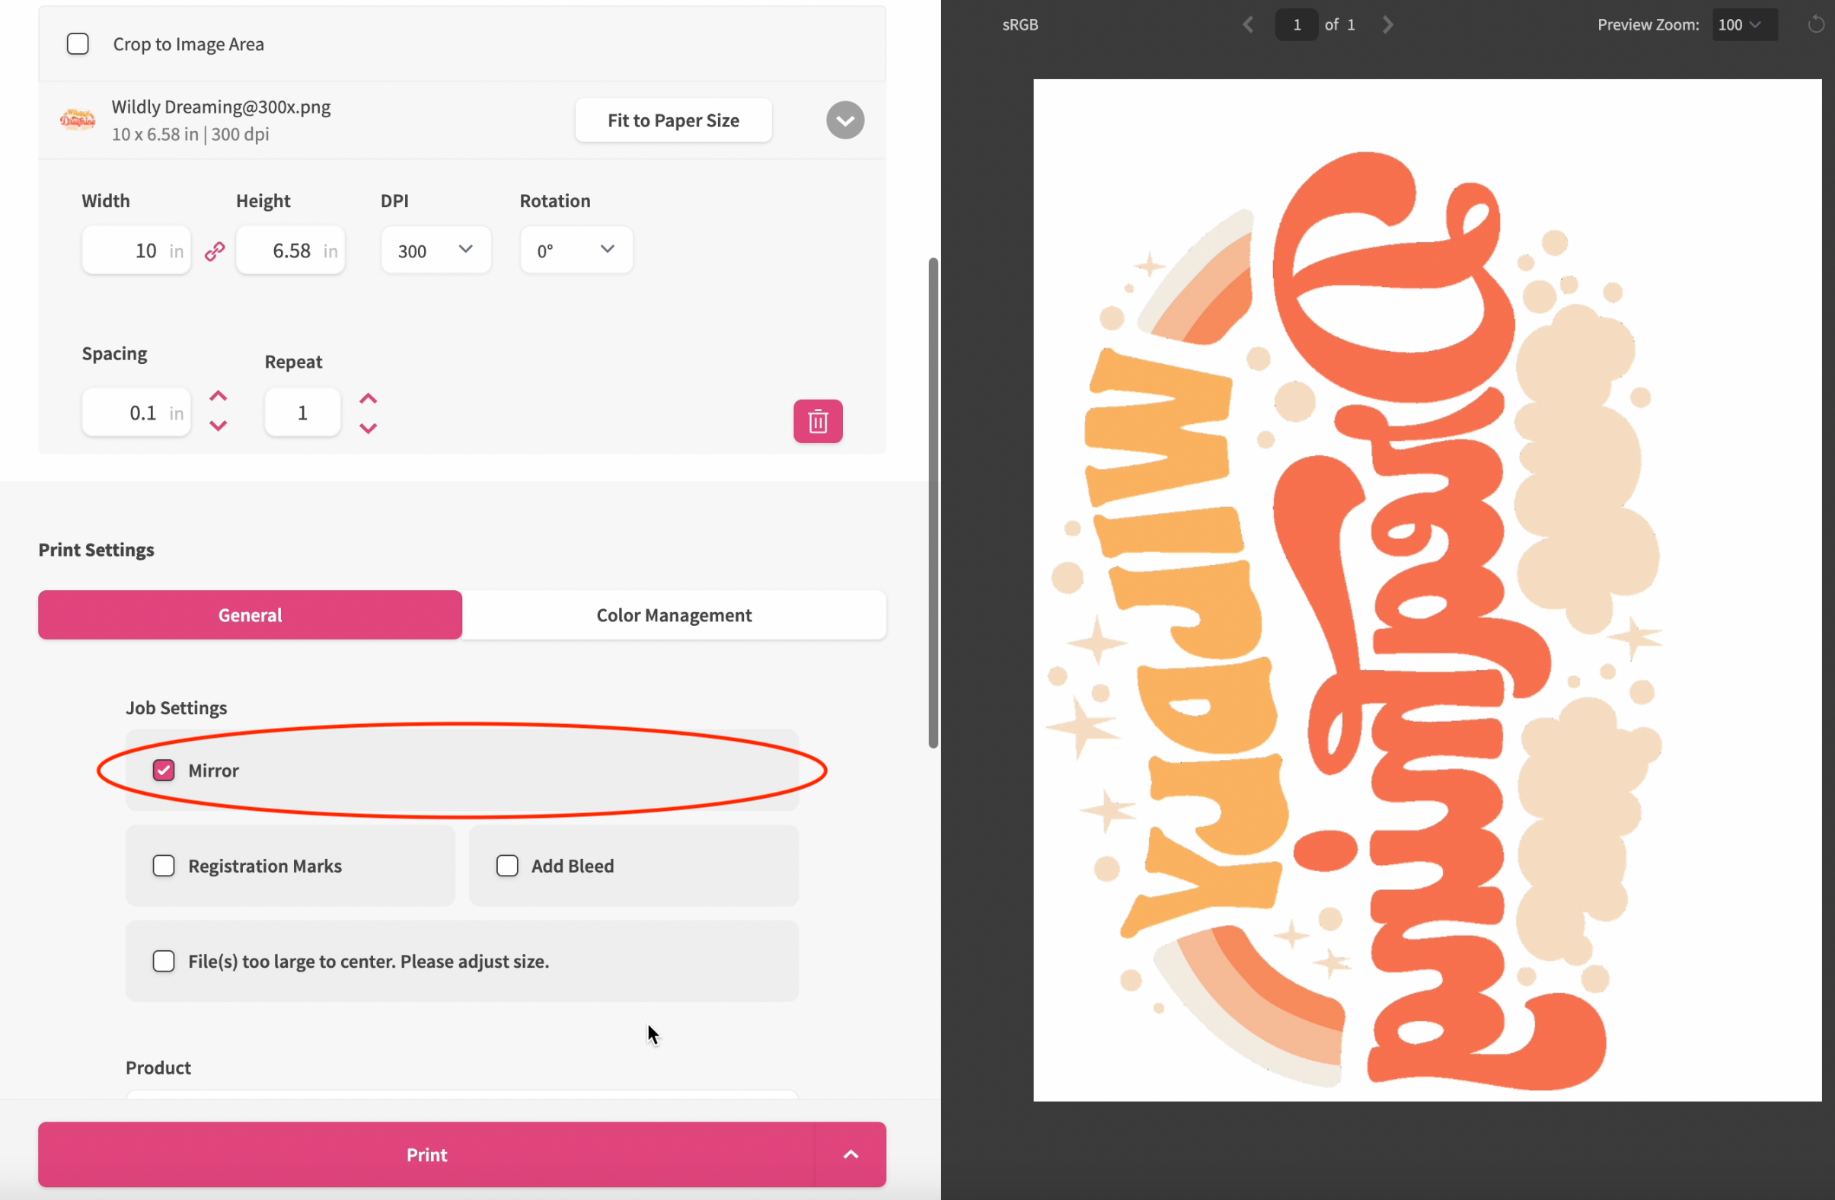
You can purchase a sublimation design or use graphic design software to create your own design. Keep in mind that the design will be mirrored when transferred, so make sure to flip your image horizontally before printing.
Step 3: Run a Nozzle Check
Follow the procedure for your type of sublimation printer to check whether the print head nozzles are clogged up or not by printing a nozzle check test pattern.

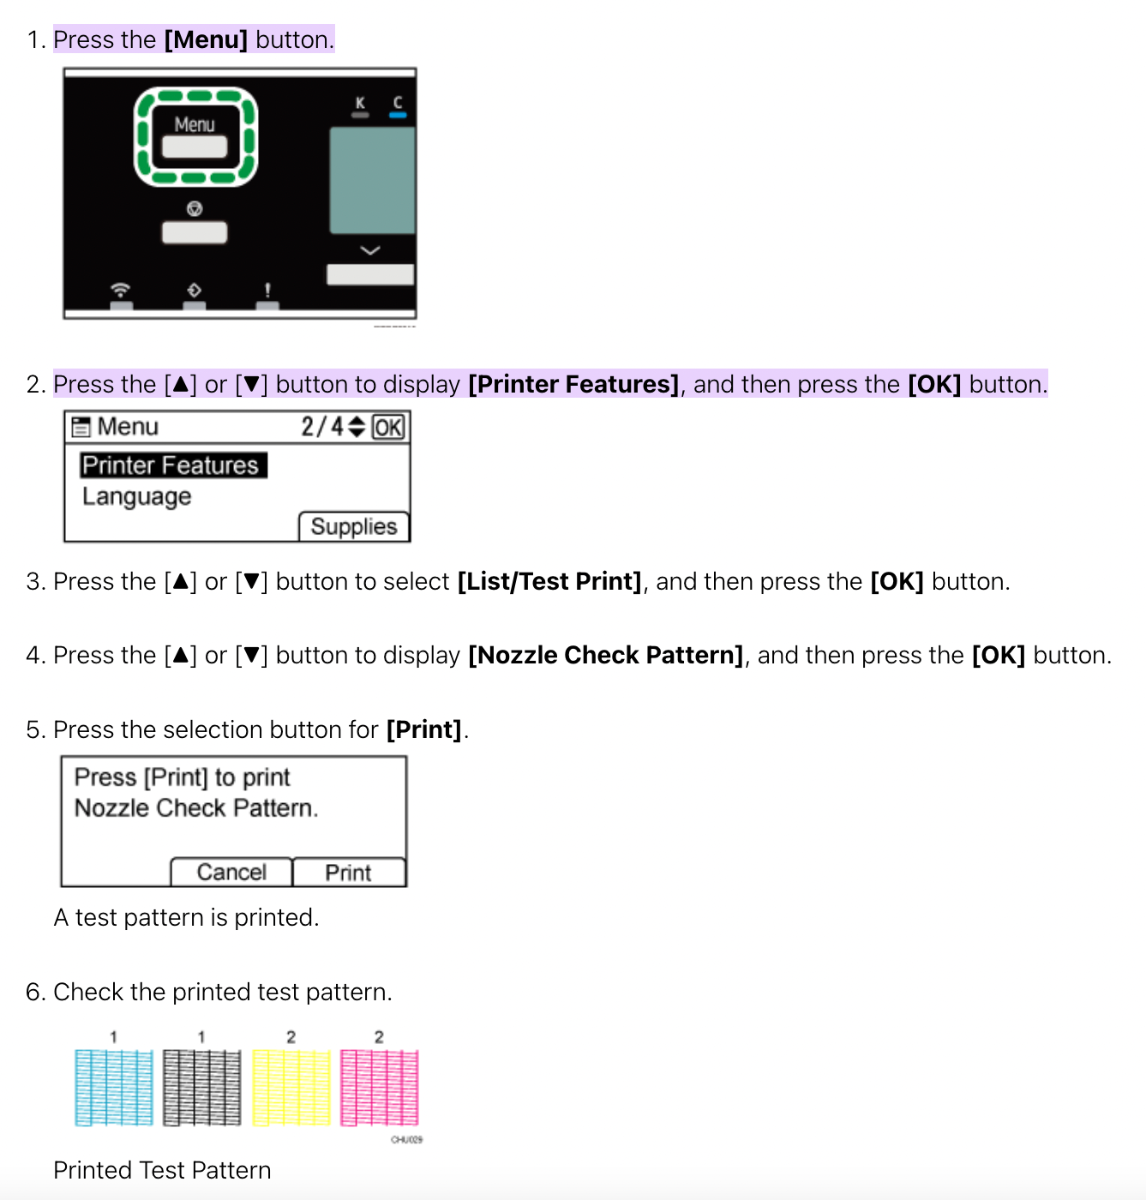

After printing, examine the test pattern closely. This pattern helps identify any clogs in the print head and indicates which head is affected. Each color segment on the pattern corresponds to a print head number:
- Cyan and Black are managed by Head 1
- Yellow and Magenta are handled by Head 2
Refer to the illustration below to determine if a print head is clogged. If you notice clogging, initiate the Head Cleaning process. Should the issue continue, proceed with Head Flushing to resolve it. 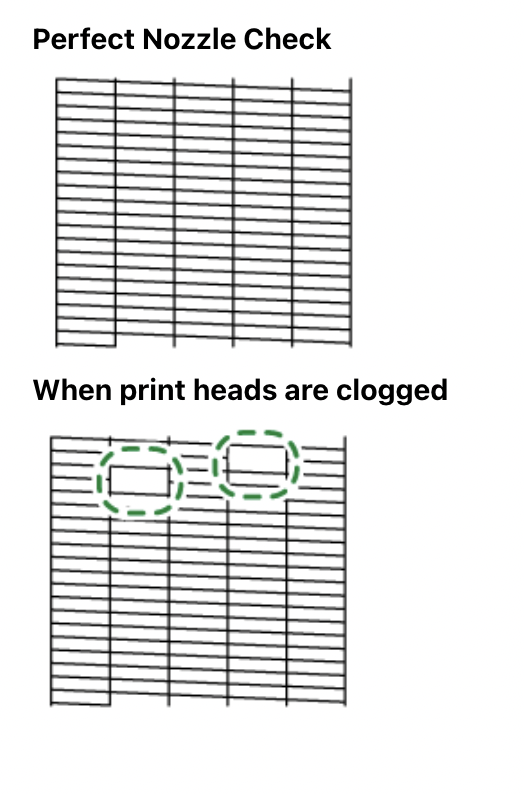
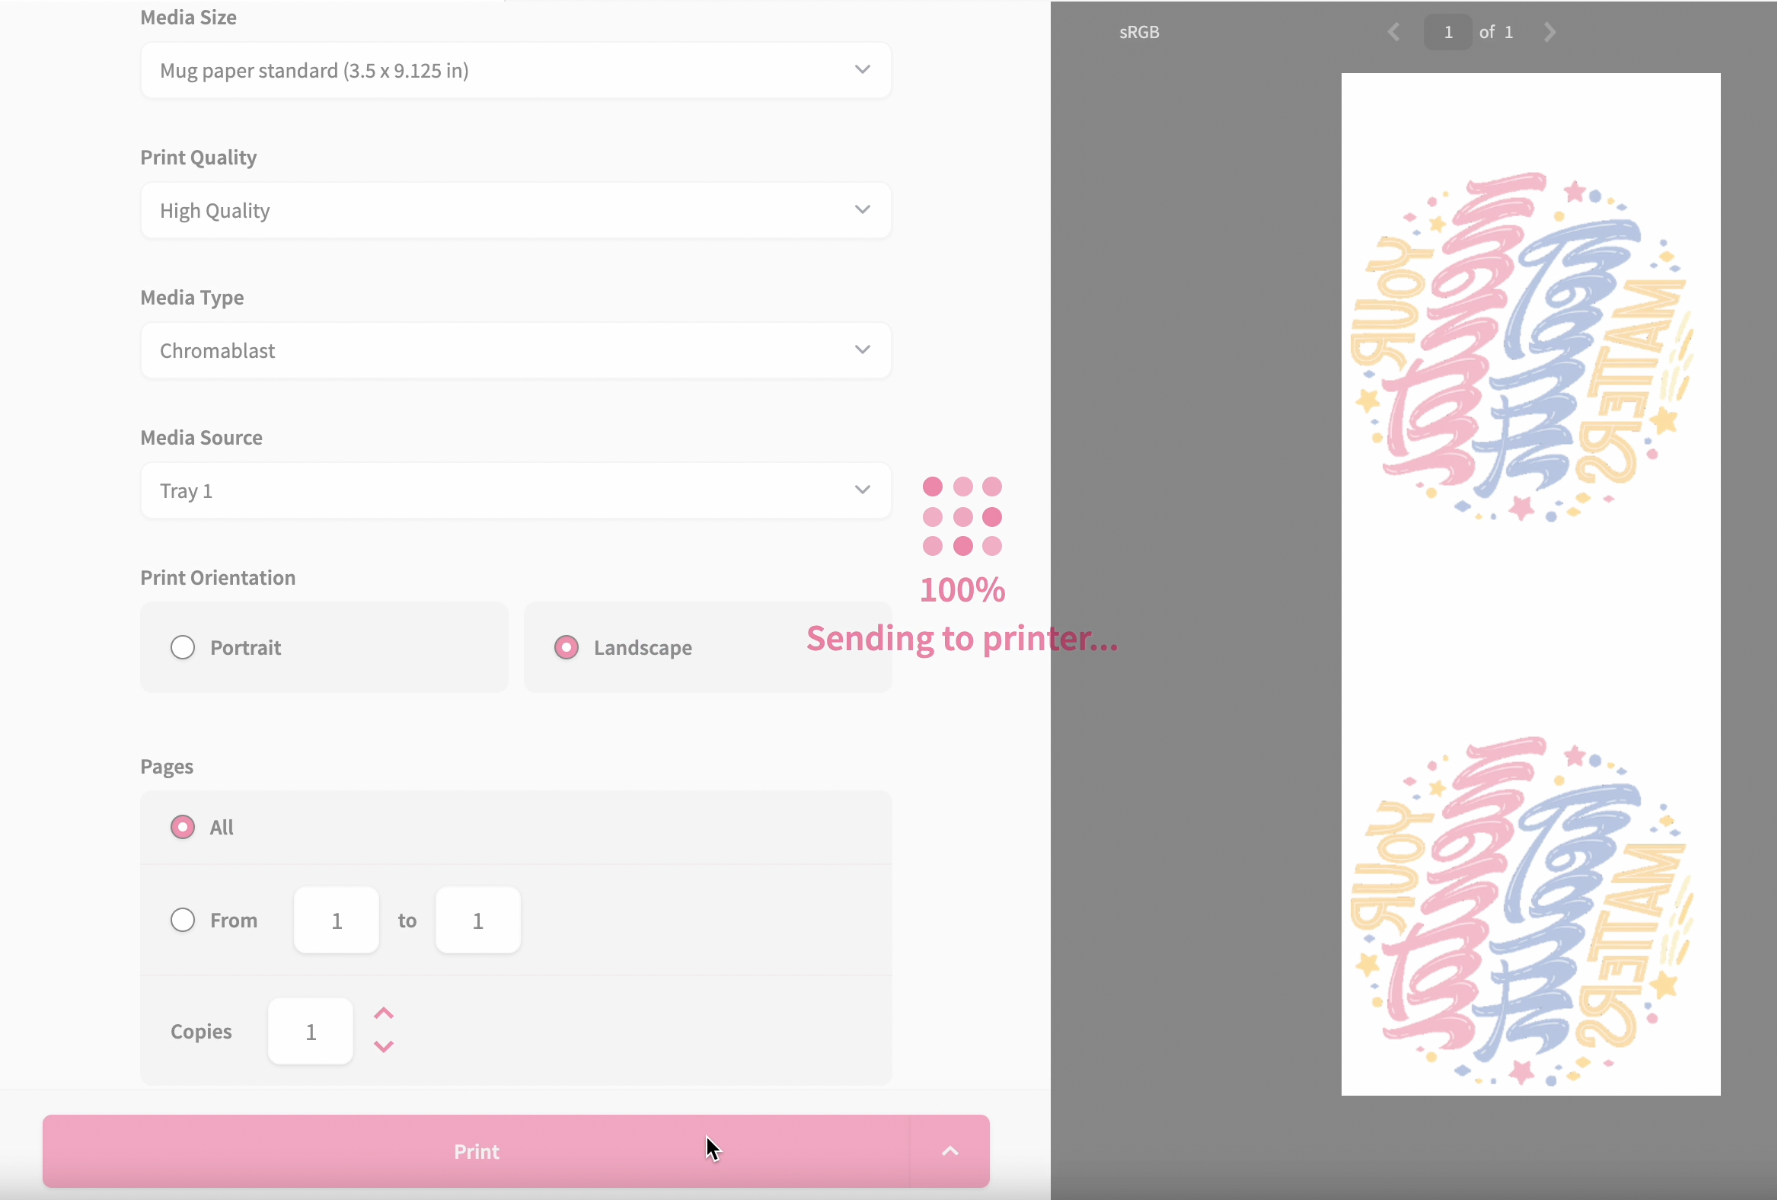
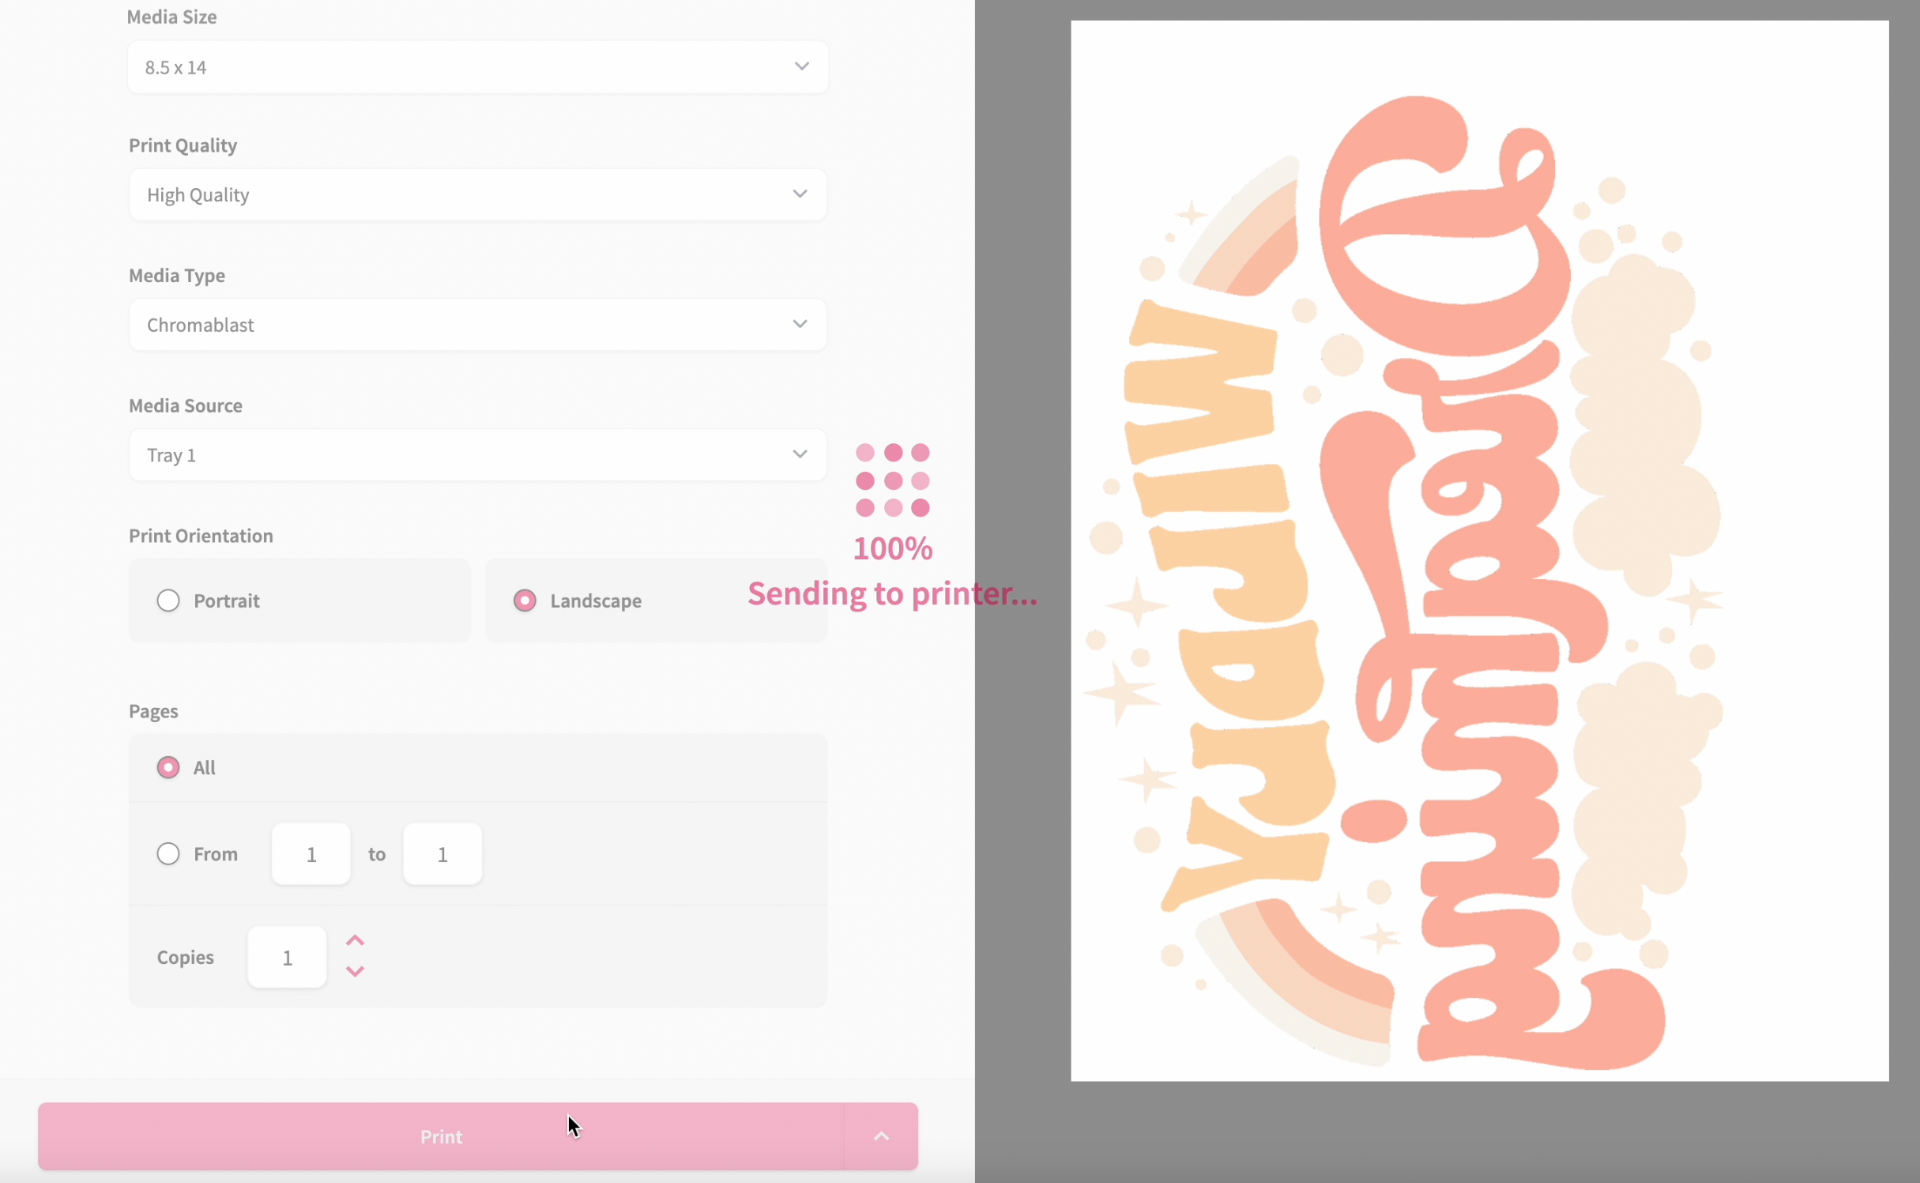
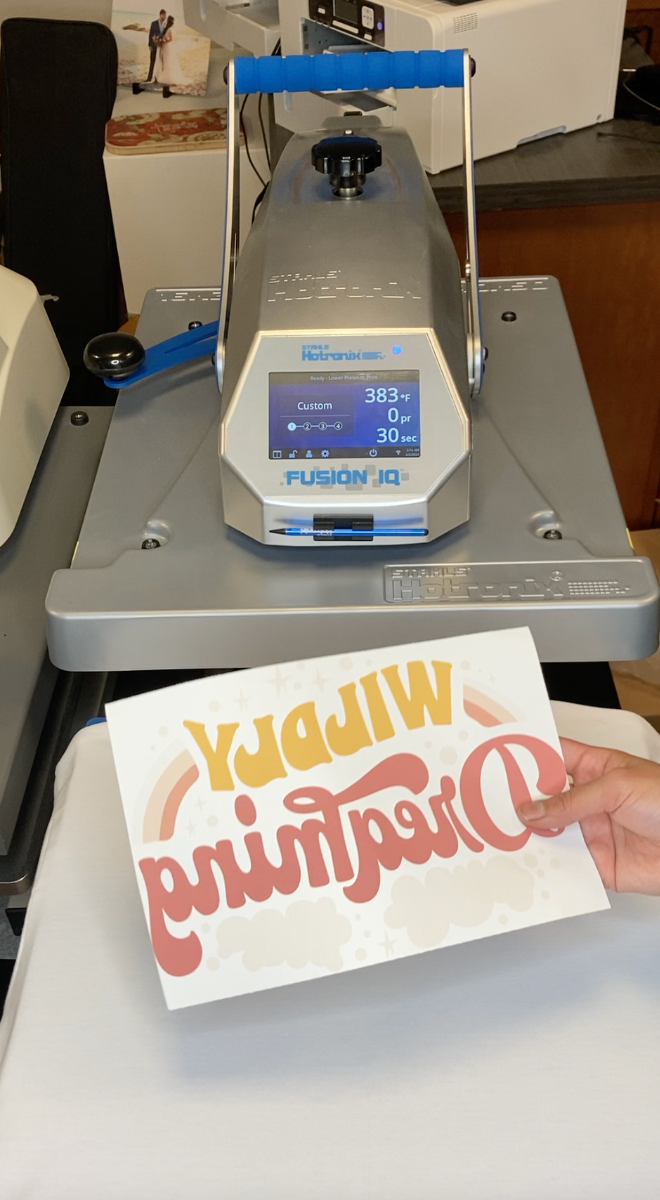
Step 4: Print Your Design
Load your sublimation paper into your printer, making sure to feed the paper in the correct direction. Make sure to size and flip your design horizontally before printing. Print your design.
Step 5: Prepare for Transfer
Once your design is printed, you're ready to heat press your design to your garment!
To do this, first, load your T-shirt onto your heat press’s bottom platen. Pre-press your shirt for 5 seconds, removing any possible moisture. Then, align and place your transfer on top of the shirt, secure it with heat-resistant tape, and cover with a sheet of Teflon. Your transfer should now be facing the correct direction (no longer mirrored).
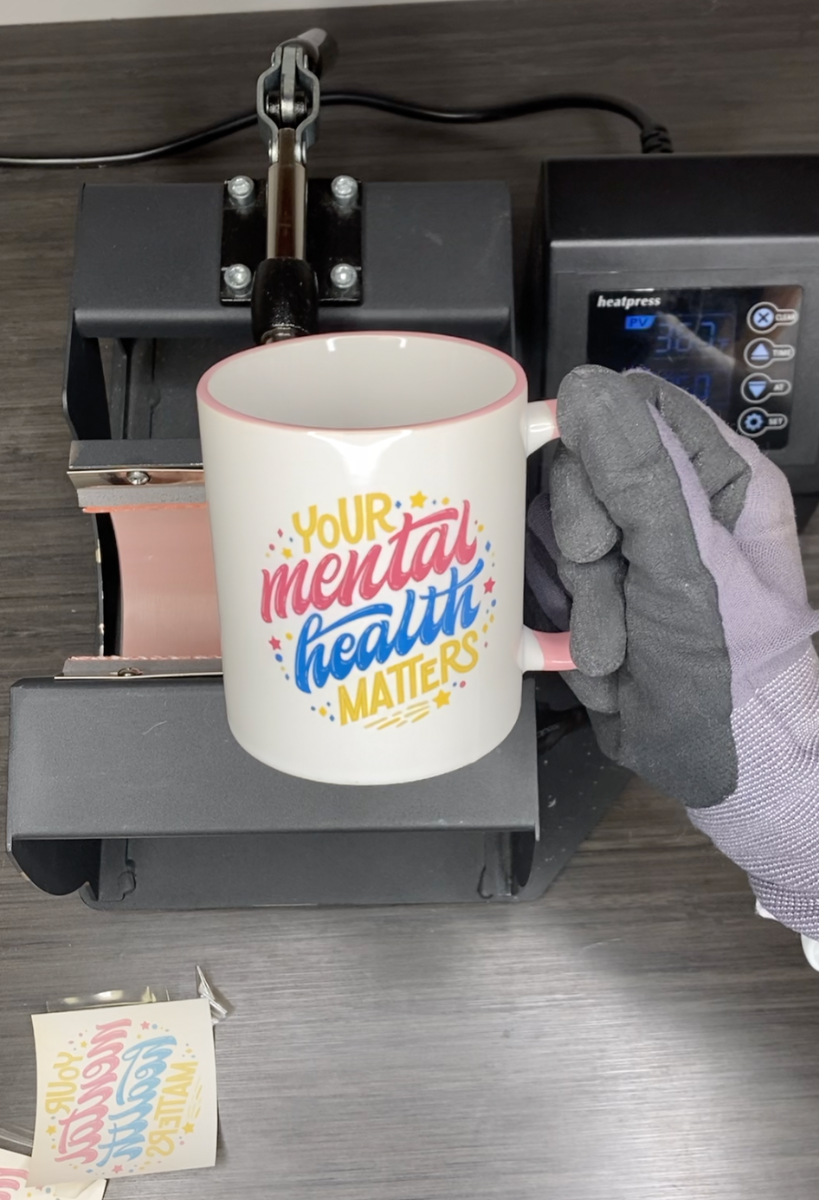
For A Mug, position the design on your mug, making sure it's properly aligned. Secure it with heat-resistant tape.

Step 6: Press Your Design
Turn on your heat press and set it to the recommended temperature for your material (usually around 400°F for mugs and 385°F for t-shirts). Place your t-shirt or mug in the press, making sure the design is facing down for t-shirts and up for mugs.
Close the press and set the timer (generally, about 250 seconds for mugs and 30 seconds for t-shirts). Once the time is up, pop open your heat press and carefully remove the item from the press using your heat gloves.
Step 7: Reveal Your Design
Immediately peel off the paper to reveal your custom design.
And there you have it! You've just created your first custom t-shirt or mug using sublimation. Practice with different designs and items to perfect your technique and create unique, personalized items.
Remember, sublimation requires specific materials and equipment, and it's important to follow safety guidelines when handling hot items. Happy crafting!
Heat Press Settings & Templates for Sublimation
For your convenience, we've compiled this handy-dandy chart, where you'll always have the right temperature and time for pressing sublimation blanks. In addition, Coastal provides free sublimation templates for all our sublimation blanks. You can find them here. With these resources, you won't have to guess the right settings anymore, ensuring perfect results every time. So, let's get pressing and make some awesome art!
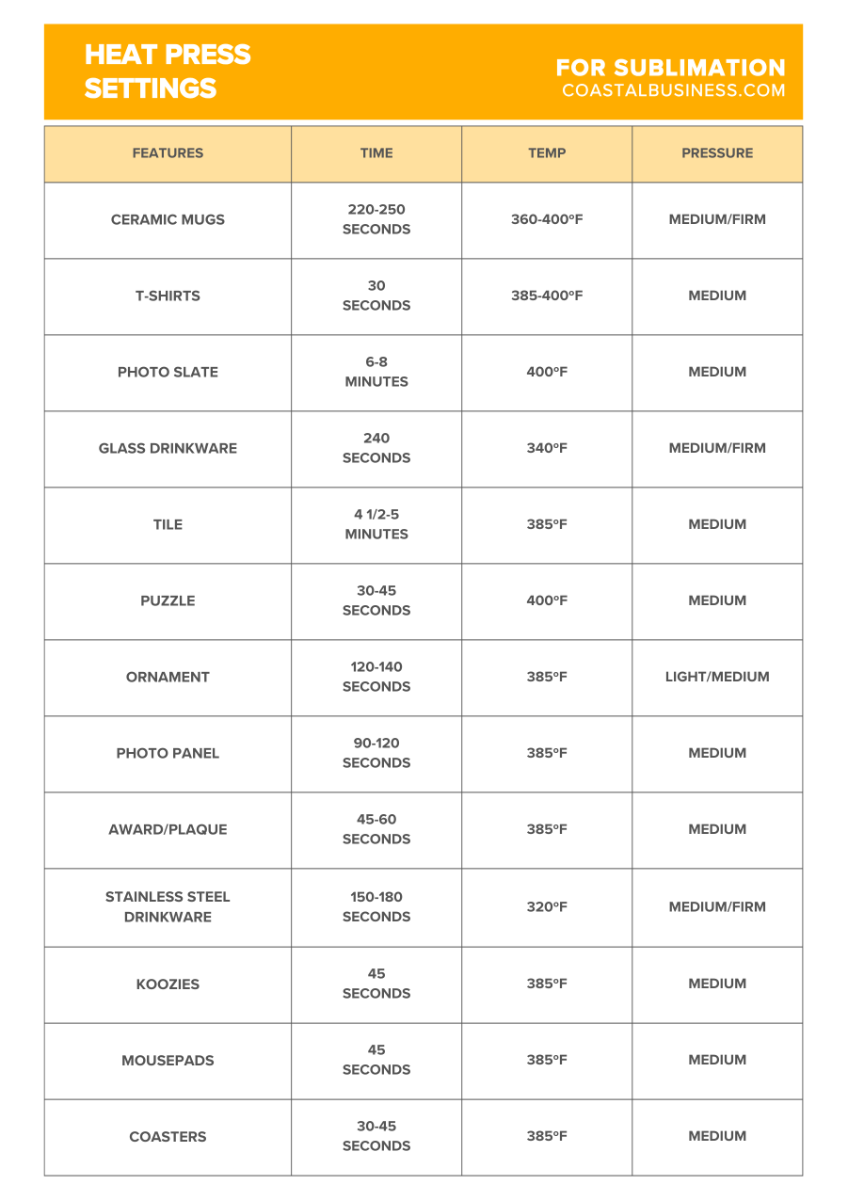
To make your crafting process smoother, consider printing this table or creating a personalized reference guide to keep close to your heat press. With this at your fingertips, you'll always have the necessary sublimation temperature and duration details for pressing various blank types!
Alright, future sublimation superstars! Now that you're equipped with the necessary knowledge, it's time to get started!
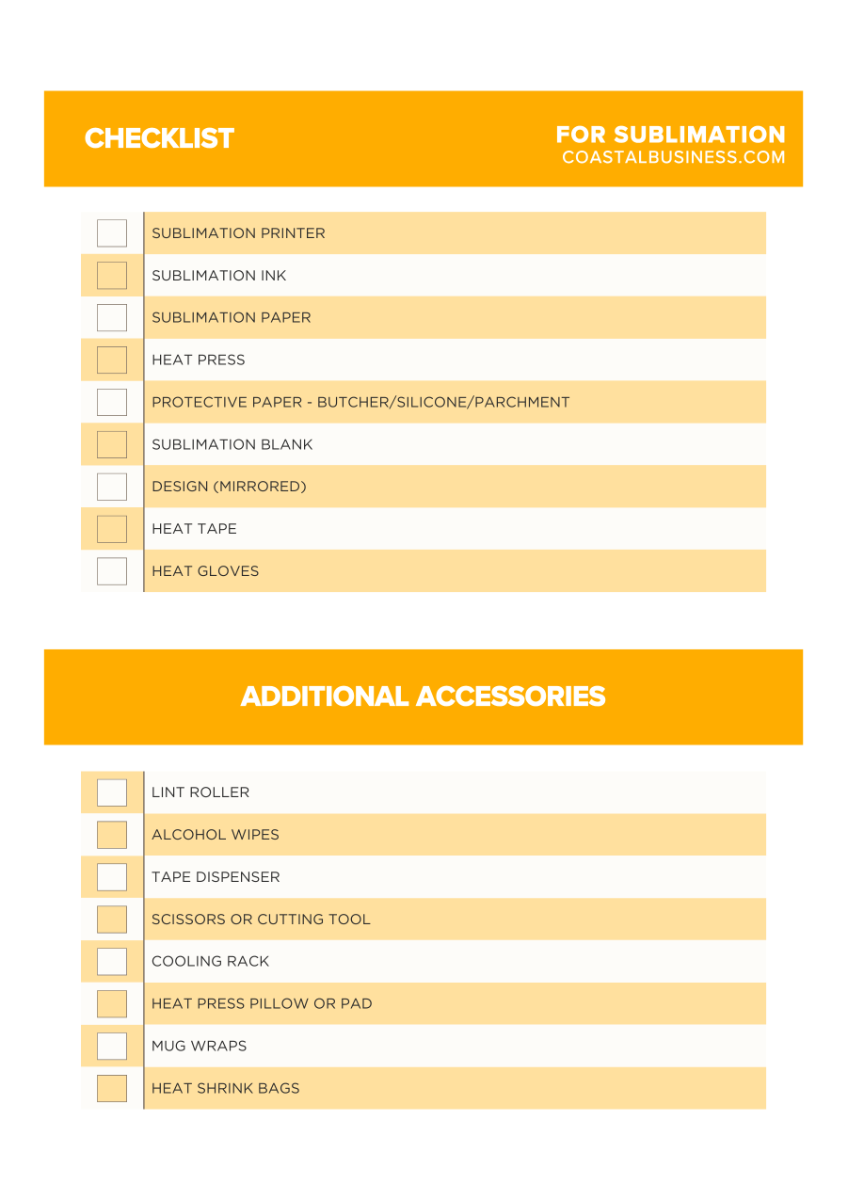
Here's one last checklist to double-check to ensure that you're starting off on the right foot!
That wraps up our comprehensive guide on sublimation printing 101! We hope this article has been insightful and beneficial as you embark on your sublimation journey. As you continue to explore and grow in this field, we recommend delving into our other resources: "Expand your HTV Business with Sublimation", “7 Tips for Sublimation Success”, and “7 Common Sublimation Issues & How to Fix Them”.
Join our Facebook group today and see how much you can learn and contribute to the sublimation community. Get inspired and start creating!


0 Comments
Leave a Comment