7 Tips for Sublimation Success
If you are just starting out in sublimation or already have a running business, there are a few things to keep in mind to make sure your business is running smoothly and avoid potential problems.
1. Get the Right Equipment
Sublimation is an attractive opportunity because it can be easy and fairly cheap to set up. The only equipment that is needed includes a printer, sublimation ink, sublimation paper and a good heat press.
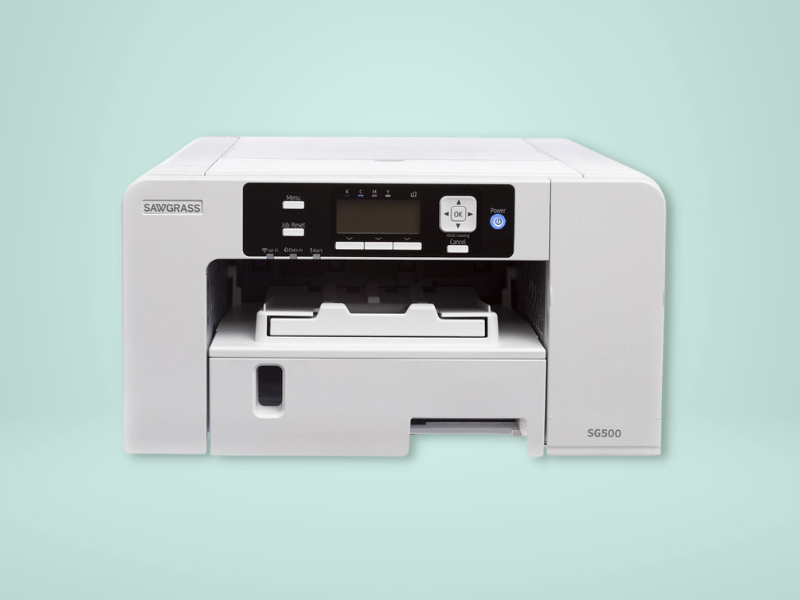
The Sawgrass System is an all around perfect package for those who are brand new to sublimation. The system is easy to set up, is good for small and large volume jobs, and you will get very active customer support through Sawgrass on both the printer and inks. The ink has low water content and is formulated like a gel to prevent drying and clogging, and the printers have automatic self-maintenance as long as they are left on which keeps the nozzles clean at all times. Depending on your needs, the Sawgrass System comes with either an SG500 or SG1000 printer.
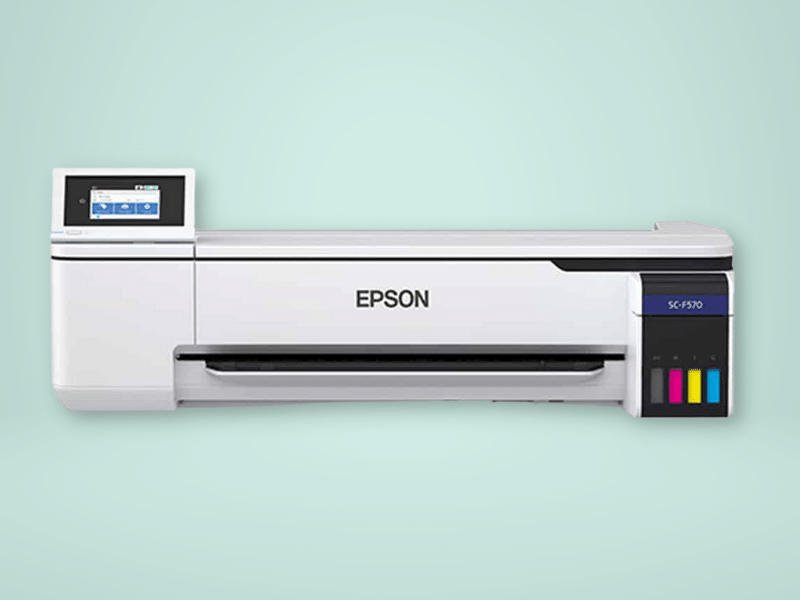
The Epson F570 is the next step up and offers printing capabilities of up to 24" Wide. This printer allows you to print rolls and sheets, making production on small items even easier!
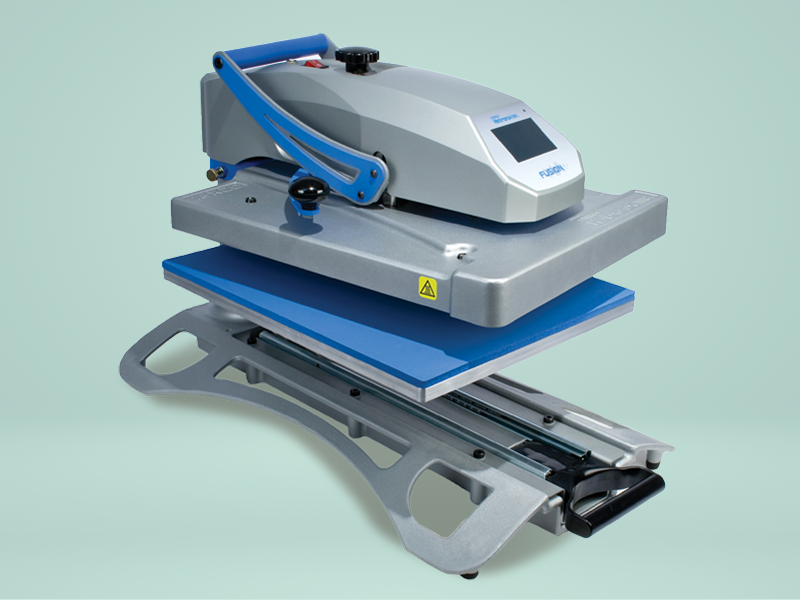
In addition to a quality printer, a good heat press is a must. Consistent pressure and temperature are factors that can make or break your sublimation process. We recommend swing-away presses, which can accommodate thicker objects and overall provide more even pressure over time. Clamshell presses are more budget-friendly and good choice for thinner objects and garments but not as good for thicker glass or ceramic items.
2. Have These Sublimation Accessories on Hand
To get the workflow going, we recommend the following accessories for sublimation printing:
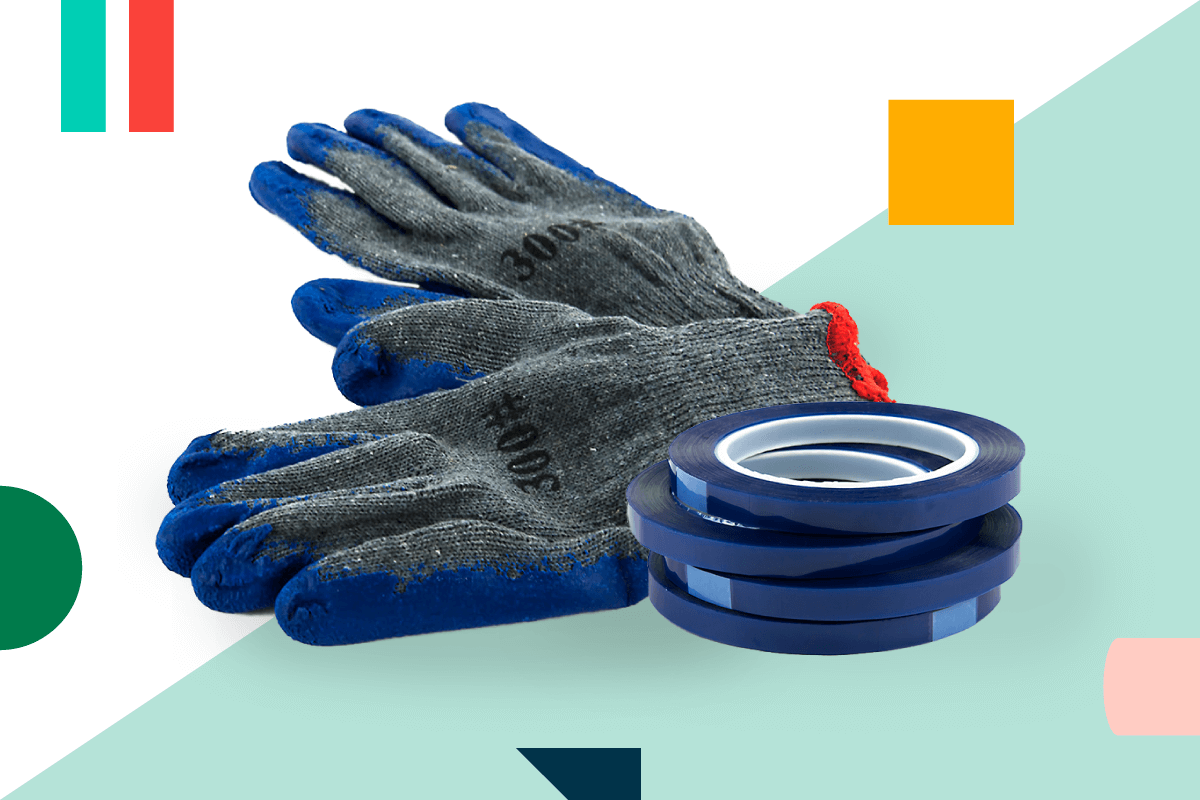
Heat gloves – protect your hands from burning when handling items.
Thermal tape + tape dispenser – use this heat resistant tape to secure your paper on items and prevent shifting or moving which can ruin the transfer. A tape dispenser cuts down on the production process by always keeping your tape ready for use.
Spray adhesive – another method to keep paper in place. Recommended for garments and fabrics.
Teflon sheets – protect your lower heat platen with this water proof Teflon that can be easily wiped off and cleaned. A Teflon sheet can also be placed on top of a transfer as extra protection.
Silicone sheets – The thinner and more temporary alternative of Teflon, these can also be used on the bottom platen as well as placed on top of the transfer, to catch any escaping ink from staining the heat press or prevent dirt from accidentally transferring on the substrate.
Heat transfer pillows – The life savers when it comes to pressing certain hard surface items, garment with seams or zippers, or raising an area of a T-shirt to prevent the dreaded indentations the paper edge can leave due to the pressure. We always keep a few of these close by.
Sublimation heating pad – A good accessory to have if you are pressing multiple ceramic or metal items. Works like magic by distributing the heat evenly throughout the whole surface area.
3. Plan Ahead, Stay Stocked on Sublimation Blanks
Sublimation can be tricky at times. New problems arise, mistakes happen, and items go out of stock at the last minute. If there is a large order due in a month, always plan ahead and factor in possible time for testing and trial and error, extra blanks that may end up being a waste, ordering as early as possible, etc. Holidays are especially risky because items can be in stock one day and backordered for weeks following that.
4. Know Your Design Software
Basic design software knowledge goes a long way with sublimation, and when we say design software, we are talking about Adobe Photoshop, Illustrator, Corel Draw and similar programs. At the minimum, you will need to know how to crop and re-size images to fit a specific item. But don't worry! There are loads of online tutorials and guides to get you ramped up quickly.
At Coastal, one of our favorite sites is Tutsplus, which offers tons of tutorials on Adobe Photoshop and Illustrator as well as wider topics on graphic design, photography and even business. Another popular site is Lynda, which requires a sign up but offers a free trial. A simple YouTube "How-to" search is an alternative way to find many instructional videos on various design programs.
If you have a Sawgrass Virtuoso printer, you may know that you can use their online design software, CreativeStudio. CreativeStudio is free with your Sawgrass printer, and it is made with the non-graphic designer in mind. It is incredibly easy to pick up and get started creating designs for sublimation. Plus, it comes with hundreds of pre-made free designs for you to print.
5. Watch How Other People Do It

It is no secret that people have the tendency to come up with their own way to sublimate an item, but it is also a good idea to keep up with current videos and blogs on what is new in sublimation or how to press an item. You may catch something in that process that is easier or results in a better transfer than what you might be used to doing. Or if you are brand new, then a little bit of research goes a long way.
Visit our Youtube channel to see a full list of our sublimation videos on various topics.
6. Heat, Pressure and Moisture

If you are running into problems with the final transfer being faded, burned, too light or spotty, check the three most important things: heat, pressure or moisture.
Too much or too little heat are usually problematic and result in over pressing or under pressing of the substrate. Uneven heating on the press is also an issue and results in spottiness where parts of the substrate sublimate properly but other parts don’t. It is a good idea to invest in temperature strips or a thermal gun, both of which map out the temperature of the heat platen. If there are any inconsistencies or cold spots, it is best to call the manufacturer of the press.
Pressure is equally important and sometimes, uneven transfers can be resolved by simply increasing the pressure. It is possible for the press to be providing uneven pressure however and generally, the manufacturer would do a phone walk through on how to calibrate the press and provide additional assistance to resolve that problem.
If everything checks out, moisture may play a role in spotty transfers. Moisture can warp flat items and can act as a barrier between the surface and the sublimation ink trying to penetrate it. This step is not always listed on the instructions, but it is good practice to pre-press items for 5-10 seconds at high heat and light-medium pressure to let moisture escape and flatten out the substrate. For warped items, such as MDF boards, pre-pressing both sides may be necessary.
7. Test, Test, Test
No matter how long you have been in the sublimation business, variables change all the time and sometimes overnight. A heat press may suddenly not heat up to the temperature it shows or apply even pressure even though it has worked for 2 years without an issue. An item may be slightly changed in manufacturing requiring a heat/time adjustment which usually happens without warning, or it could be a brand new item you have never used before.
Luckily, you don’t need a ton of extra items to do testing. All blanks can be pressed multiple times for testing purposes. Anything that is previously sublimated will fade out, but the coating itself can take on multiple presses and would not be affected. The easiest way to test is with small black strips (maybe throw in a few primary colors). Black looks brown when over pressed and grey when under pressed, so that is a pretty good way to figure out what combination of temperature, time and pressure produce the deepest black with sharpest edges. It is generally bad practice to test a full image on a final item and just hope it works right off the bat. That often leads to a wasted item with no extra white space that can be re-used for testing.
Once the perfect black is achieved with the right combination of settings, we recommend printing out an RGB color chart and pressing that onto the item(s) that will be big sellers.That way, you will know exactly what the colors will look like on the final product. Remember that light can produce more color combinations (what you see on screen) than what a physical pigment can create (what you see on the final product).
We hope this information helps you as you start your journey into the sublimation business. Our customer success team will be happy to help you with any additional questions - give us a call at 800-562-7760 or email us at [email protected].


0 Comments
Leave a Comment