How to Never Weed Vinyl Again with FOREVER Flex Soft
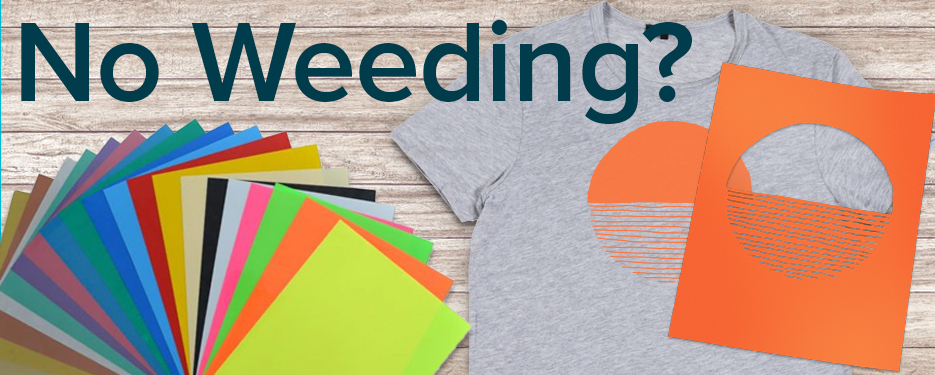
Heat transfer vinyl (HTV) is one of the easiest and most popular ways of creating custom T-shirts. In fact, with just a vinyl cutter, a heat press, and a roll of vinyl on hand, thousands of entrepreneurs like yourself have successfully started their own custom apparel business. But let’s face it - while HTV is easy, accessible, and has the capability to produce outstanding results, it’s not without its drawbacks. And the biggest drawback of all: weeding. If you have never weeded HTV, consider yourself lucky! It’s arguably the most tedious process of decorating garments with heat transfer vinyl as it involves physically removing all of the extra vinyl by hand after you cut your design. And it only gets more labor-intensive and time-consuming with more complex designs.
But what if we told you that there is a very similar product on the market that offers the same quality, durability/washability, and feel to HTV but without the weeding? Let us introduce you to FOREVER Flex Soft!
What is FOREVER Flex Soft?
If you’re not familiar with FOREVER Flex Soft, it’s what is known as a laser heat transfer paper. Heat transfer papers work in a similar way to HTV in that you use a heat press to transfer your design to your T-shirt. However, unlike vinyl, you use a printer to print your design onto a sheet of transfer paper instead of using a vinyl cutter to cut it out. For more information on heat transfer paper, you can check out our other blog.
Now, FOREVER Flex Soft is quite special when it comes to heat transfer papers. This is because you only need to print one color for it to work: black. Yup, with Flex Soft, you’re able to transfer a variety of single-color designs (red, blue, yellow, neon, metallic, etc.) by just printing black with your printer. This means that you do not need to invest in an expensive white toner printer or even a CMYK printer for that matter. You just need a monochrome (black and white) laser printer. And if you don't have one, you can consider having your prints printed for you at
How Does This Magic Work?!
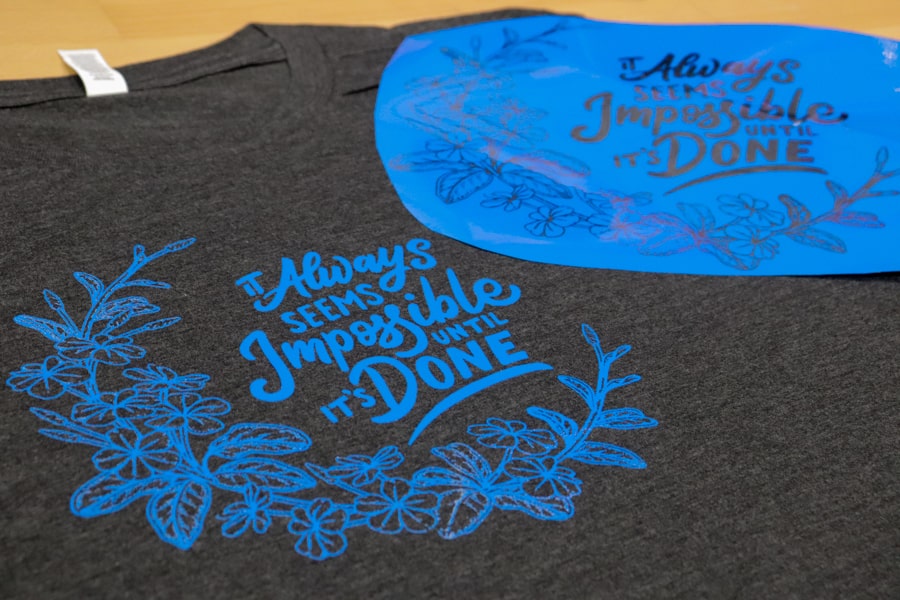
FOREVER Flex Soft is similar to vinyl in that it comes in single-color sheets, but instead of cutting it, you print on it. In fact, Flex Soft uses what’s known as a two-step process and comes with two sheets of paper: an A-Foil and a B-Paper. The A-Foil is the colored sheet and is what you print on. The B-Paper is an adhesive-coated sheet, and after printing out your design, you will heat press both the A-Foil and the B-Paper together. This causes the adhesive from the B-Paper to only transfer to the printed areas on the A-Foil. Once you’ve married the papers together, you then press the A-Foil sheet to your T-shirt or garment, and only the printed areas transfer. Et voila – you have a printed garment, and you spent zero time weeding! Confusing? Don’t worry – we’ll walk you through the steps shortly.
Now, thanks to this two-step process, you can print incredibly intricate designs – the kinds that would make you cringe if you thought you actually had to weed them. Not only does this save you the frustration and headache involved in weeding, but it also improves your productivity (which in the end leads to greater profit).
Recapping the Benefits of FOREVER Flex Soft
- Saves you time, and time is money
- Can print highly intricate designs
- Similar feel and durability to HTV
- No expensive equipment necessary (just a heat press and B&W laser printer!)
How to Create a Custom T-Shirt Using FOREVER Flex Soft
Ready for a demonstration? We know this is a lot to take in, so we thought it’d be best to walk you through the process of creating your own custom tee step-by-step.
Supplies & Equipment Needed
- FOREVER Flex Soft heat transfer paper
- Laser printer (monochrome, CMYK, or CMYWT - such as the Crio White Toner Printer)*
- Heat press
- Heat-resistant tape
- Silicone-treated cover sheet
- Blank T-shirt (cotton, poly, blends)
- Computer & design software
*While FOREVER Flex Soft works with a wide variety of laser printers, there are some that aren’t compatible due to their internal fuser running too hot. Brother and HP printers are notorious for this. If you aren’t sure if your printer is compatible, you can contact the manufacturer, FOREVER. We also recommend purchasing sample packs first to test and ensure the paper works with your printer.
1. Create & Print Your Design
Create your graphic using your design software of choice (e.g., Photoshop, Illustrator, CorelDRAW). Once you’ve designed your graphic, make sure that it’s entirely solid black. You will also want to mirror your design prior to printing. This means flipping it horizontally. If you forget to mirror it, your final printed design will be reversed on the T-shirt.
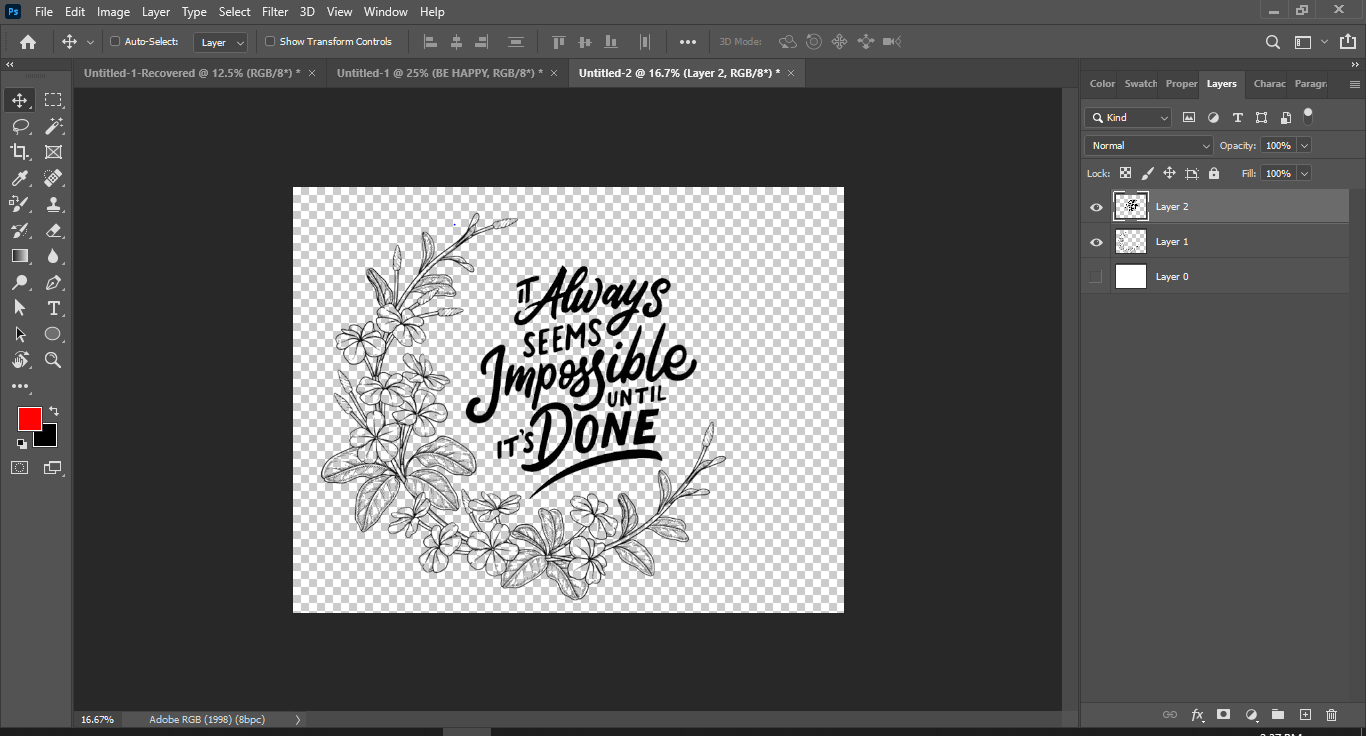
Once that’s done, send your design to the printer! You will want to print on the coated side of the A-Foil sheet, so make sure to load your printer with the paper properly. 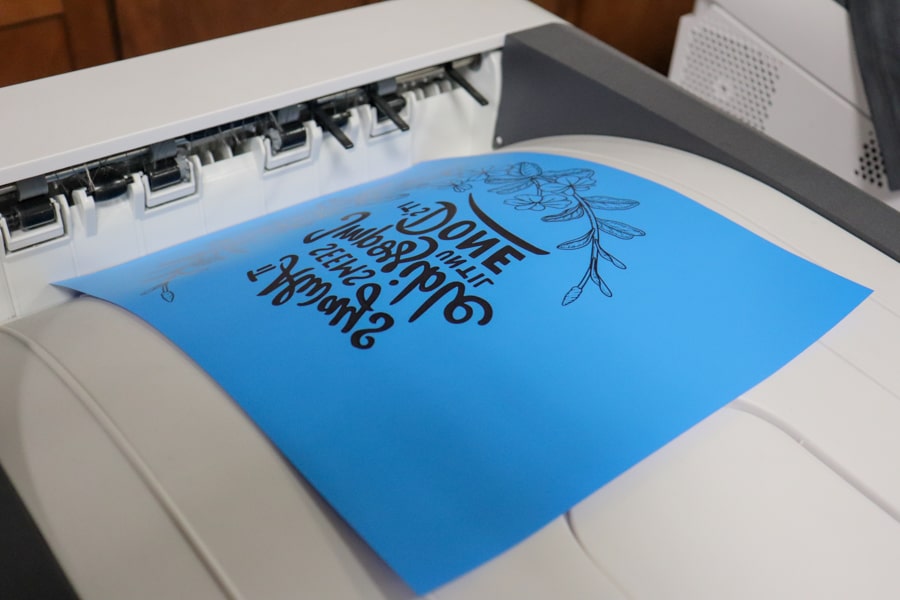
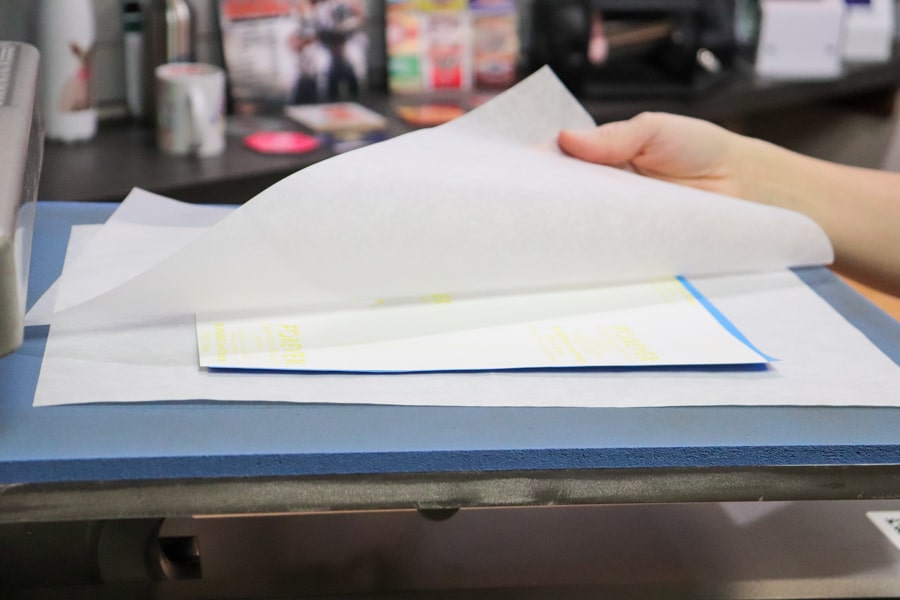
2. Press the A-Foil and B-Paper Together
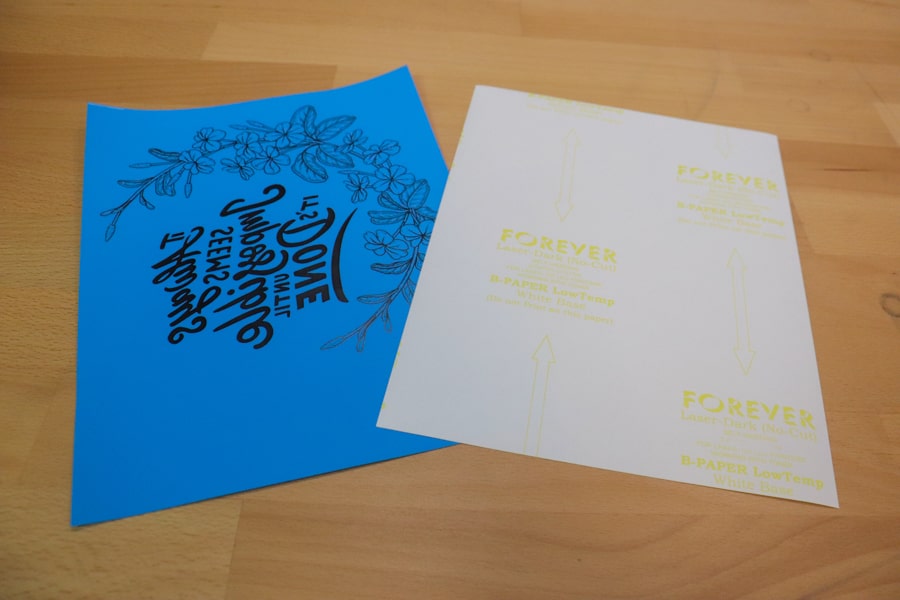
As mentioned, your FOREVER Flex Soft will come with two sheets of paper – the A-Foil that you print on and the B-Paper that is coated with adhesive. Once you’ve printed your design onto the A-Foil, you will want to place the coated B-Paper on top of the A-Foil (coated side facing down). Then, cover with 1-2 sheets of regular copy paper. Next, you’ll set your heat press to 293°F and press the two sheets of paper together on your heat press for 90 seconds (8.5” x 11”) or 120 seconds (11” x 17”) with a medium pressure.
Once the timer is up, open the press and rub the B-Paper with a cloth for 5 seconds. Then, separate the B-Paper from the A-Foil without lifting them from the lower platen. Work in a slow and fluid motion (do not stop).
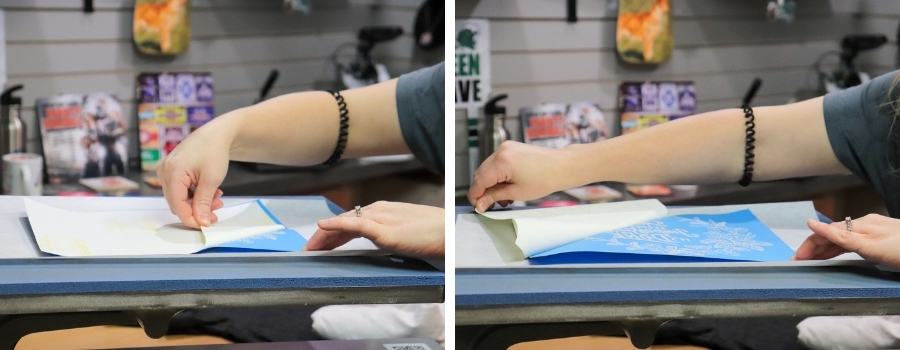
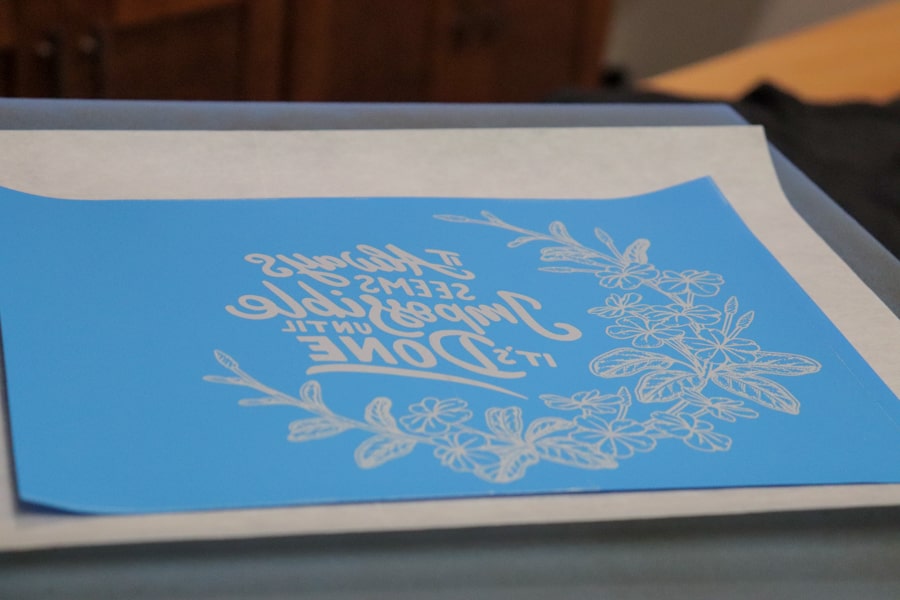
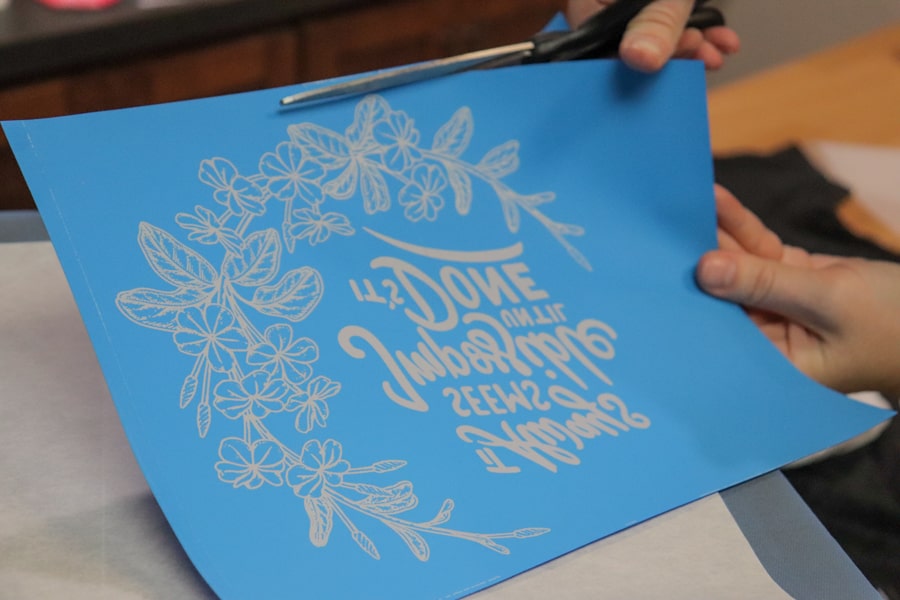
After you've peeled the two sheets apart, and your A-Foil is now coated with the white adhesive, you'll want to trim around the edges of the paper with your scissors. That's because there's sometimes a little bit of adhesive left near the edges.
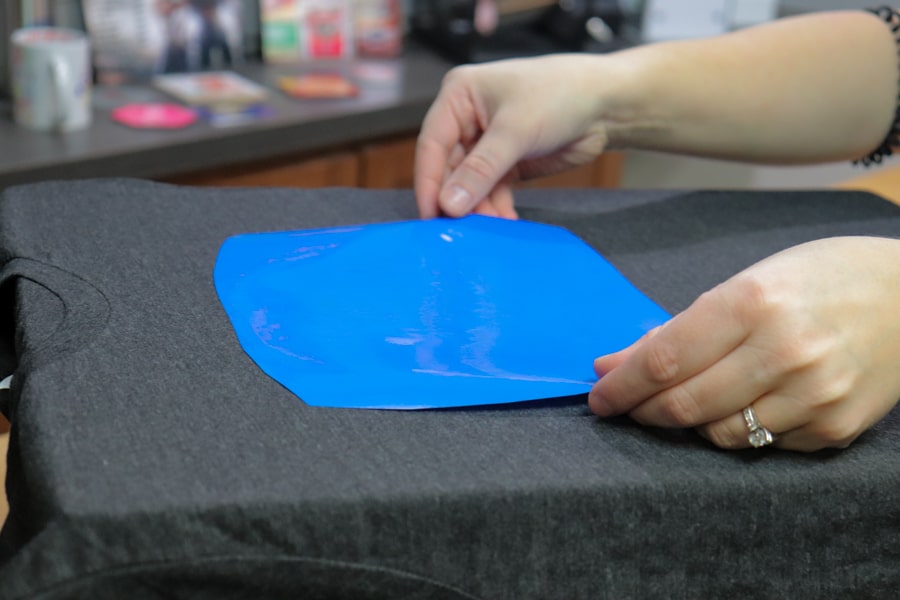
Now, your printed (and coated) A-Foil sheet is ready to transfer to your T-shirt!
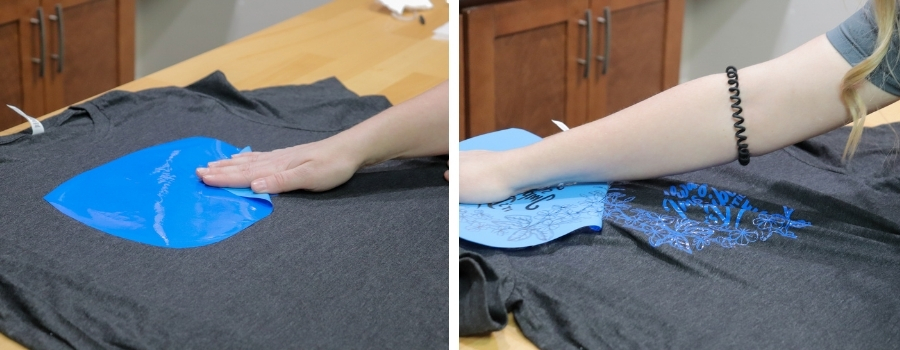
3. Press the A-Foil on the T-Shirt
All right, the time has come to press your completed transfer to your garment! First, place your T-shirt onto your heat press platen and place the transfer onto your T-shirt (the adhesive-coated side touching the garment). Once it’s where you want it to go, tape the corners using heat-resistant tape (optional). Then, cover your transfer with a silicone-treated cover sheet.
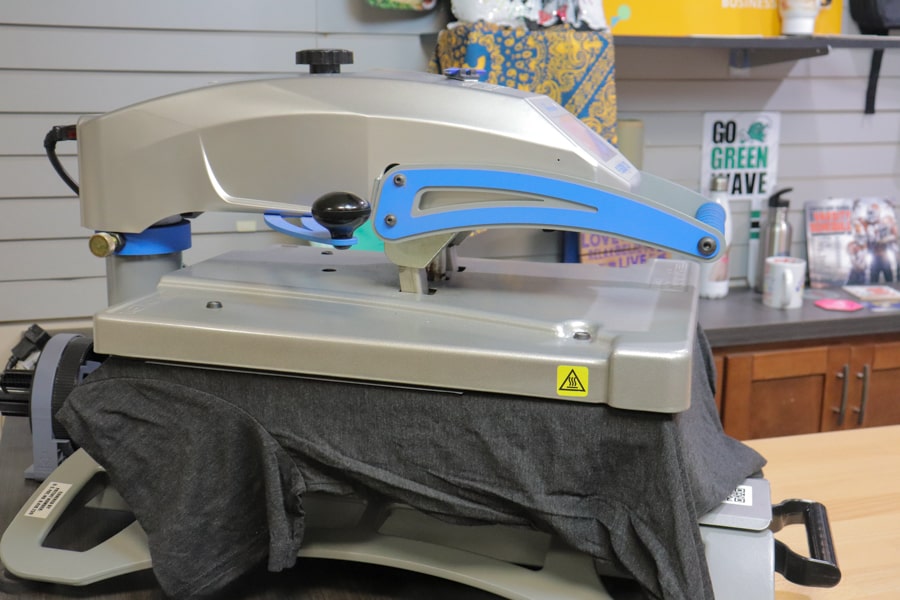
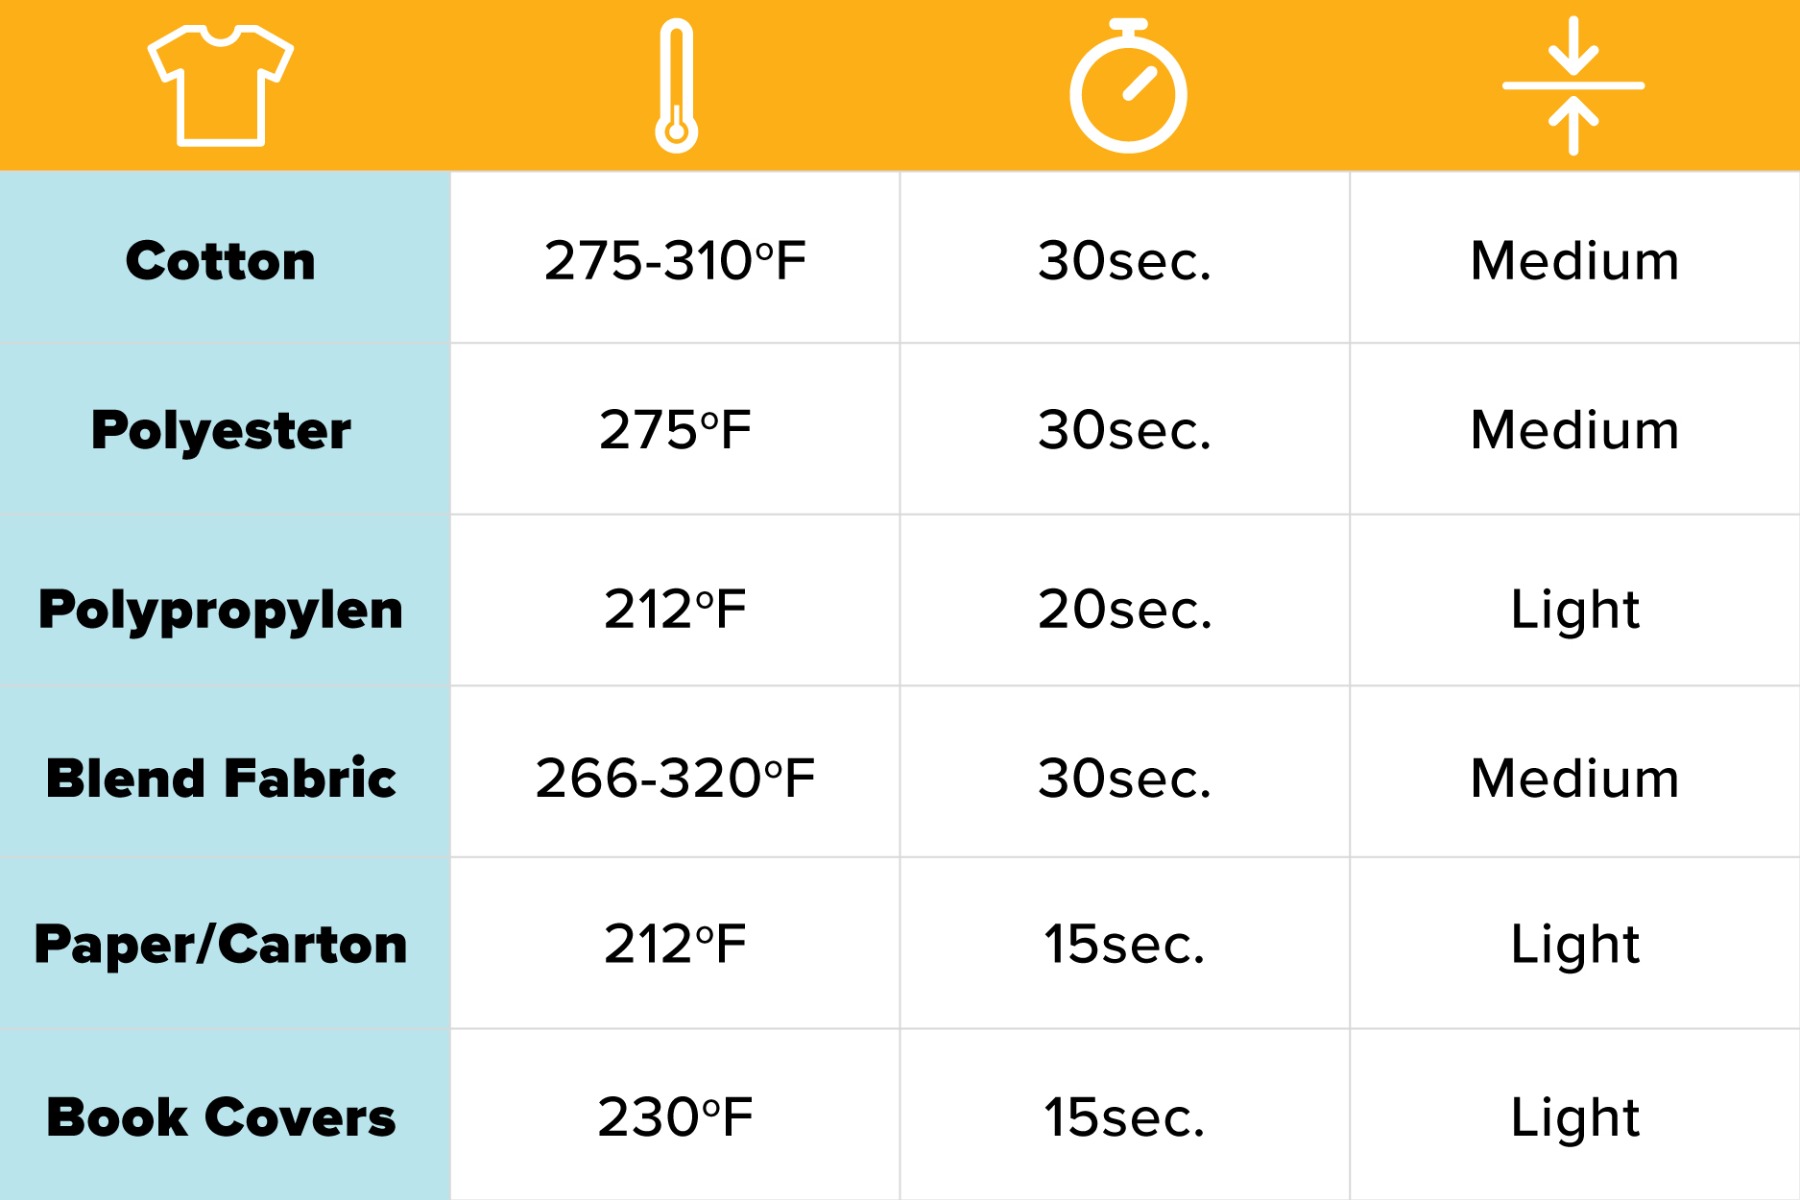
Press the T-shirt according to the amount of time and temperature as listed in the table below.
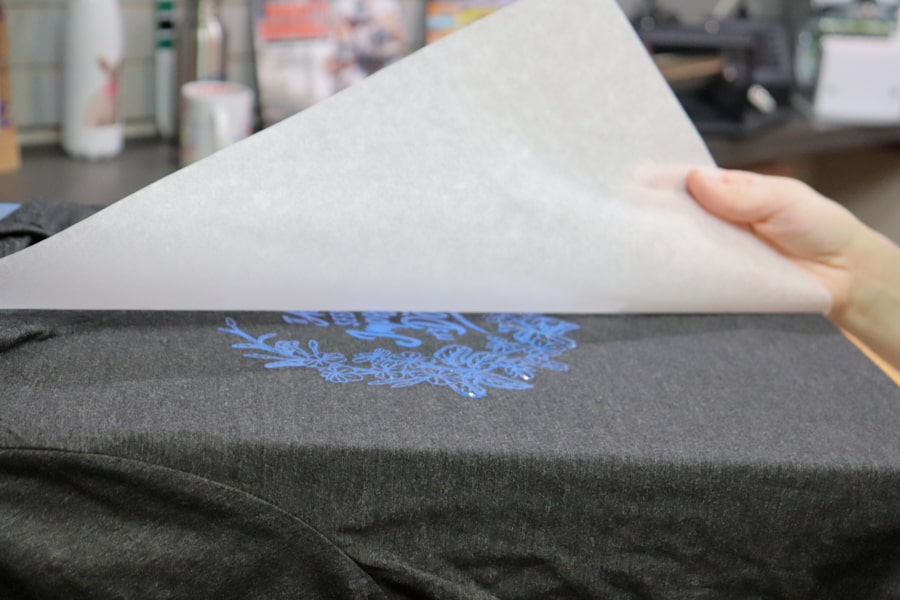
Once it’s done, open the heat press and let the A-Foil completely cool before removing it.
4. Re-Press for Durability
In order to ensure the highest durability and longevity of your transfer, it’s important to press the T-shirt one more time. Simply place a silicone-treated cover sheet over your transfer and press for an additional 30 seconds at the same temperature.
That’s it! Donezo!
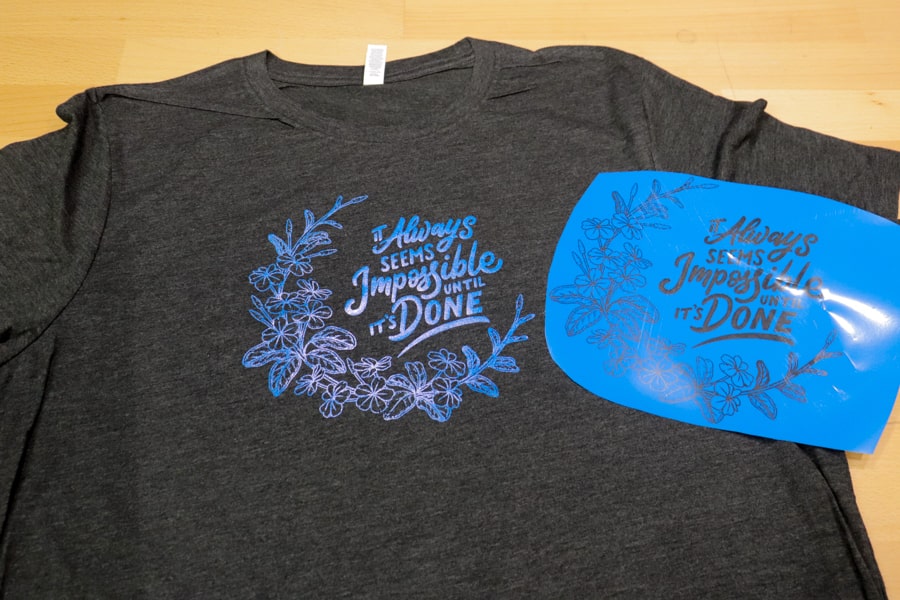
Congratulations! You now have one stellar-looking T-shirt! And the best part of all, you spent exactly 0.00 seconds weeding.
Because of FOREVER Flex Soft’s ease of use, versatility, and stunning transfers, it’s quickly become one of our favorite papers to work with here at Coastal – and we hope you found this article useful. If you have any questions about Flex Soft or anything else, we would love to help you! Just give our Customer Success Team a call at 800-562-7760 or email us at [email protected]. Happy crafting!


0 Comments
Leave a Comment