How to Set Up Your Sawgrass SG400 / SG800 Sublimation Printer | Coastal Business
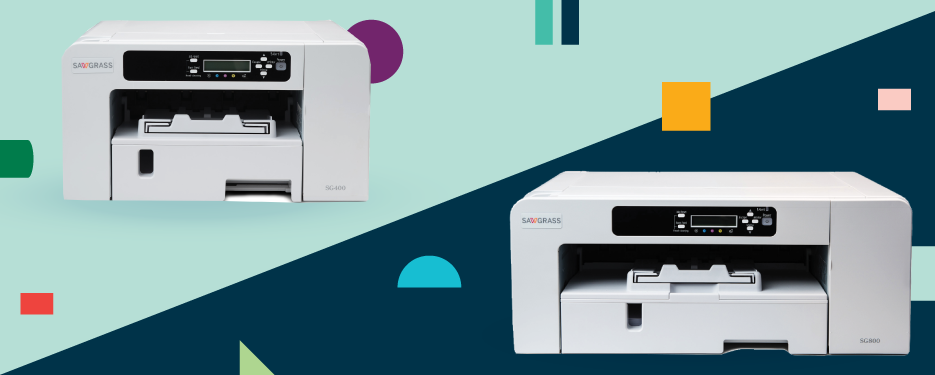
Congratulations, you just purchased your new Sawgrass Virtuoso SG400 or SG800 sublimation system! If you’re reading this, it’s probably because you’re wondering how to set up your dye sublimation printer - lucky for you, it’s super easy! After reading this blog, you’ll be well on your way to creating beautiful full-color personalized items. So, let’s dive in.
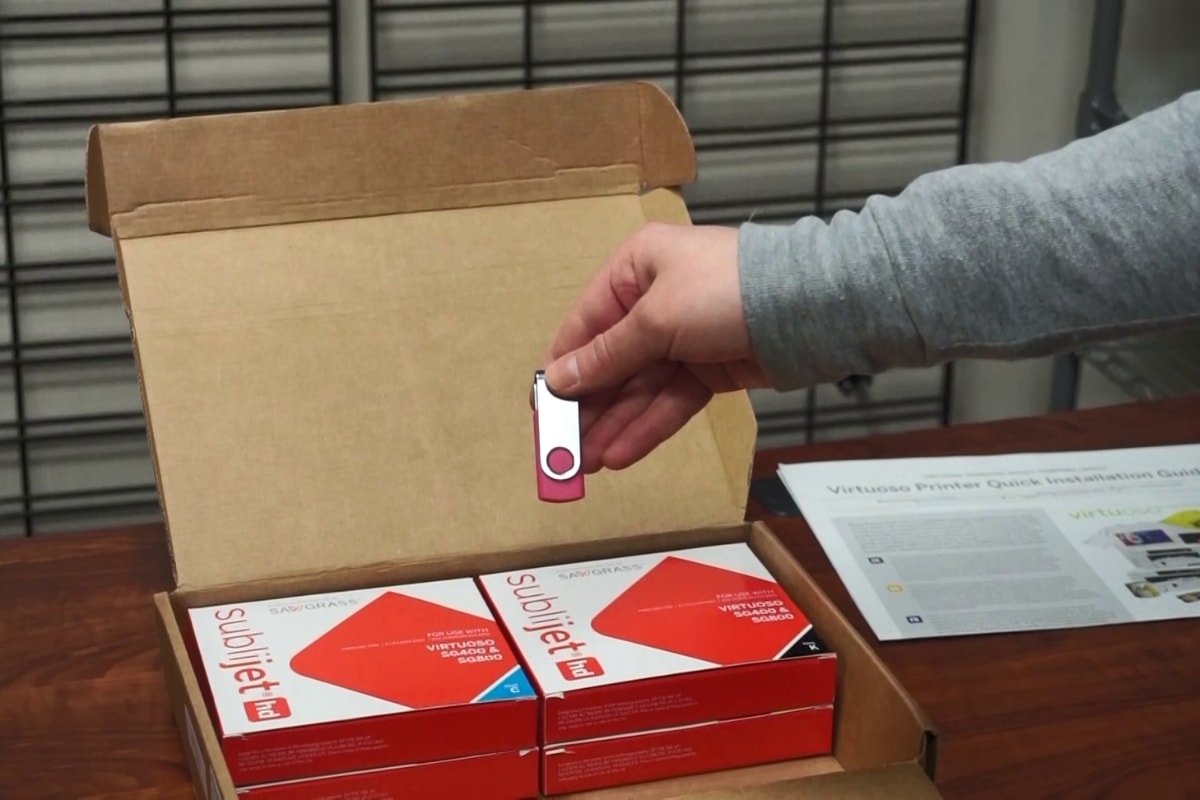
Step 1: Unboxing
Your first step is to take all the materials out of your box. At Coastal, our SG400 and SG800 packages ship with the printer, 100 sheets of sublimation paper, a sample pack of sublimation blanks, a USB cord, the printer’s power cord, and the installation kit. The installation kit contains a quick installation guide, a USB thumb drive containing your printer’s manual, and four standard sublimation ink cartridges: Cyan, Magenta, Yellow, and Black.
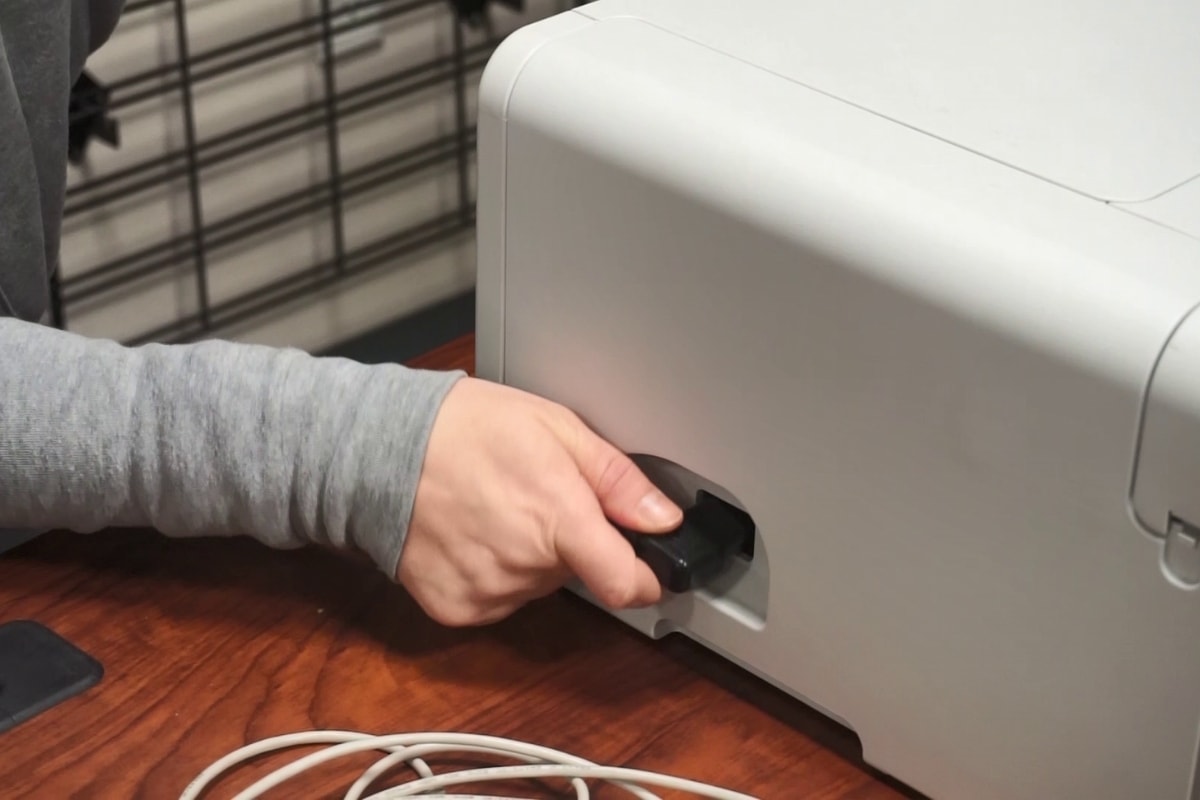
Set 2: Give it Some Power!
Next, you will want to give your SG400 or SG800 printer some power. Plug the included AC power cord into your printer and to a wall outlet. Don’t turn the printer on just yet – we will do that in a little bit.
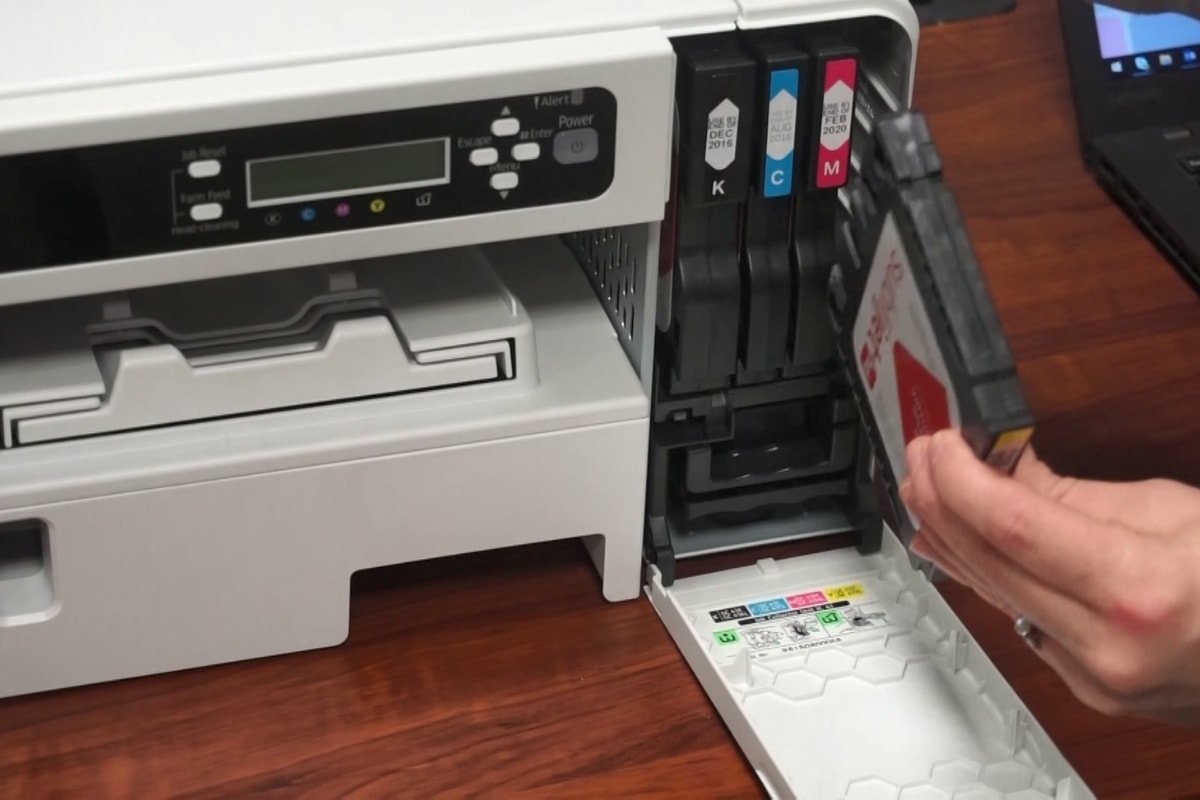
Step 3: Installing Ink & Paper
On the right side of the printer, there is a panel to open where your ink cartridges will slide in. Take each ink cartridge out of its packaging, then slide each ink cartridge into their corresponding slots on the printer with all color codes facing the front.
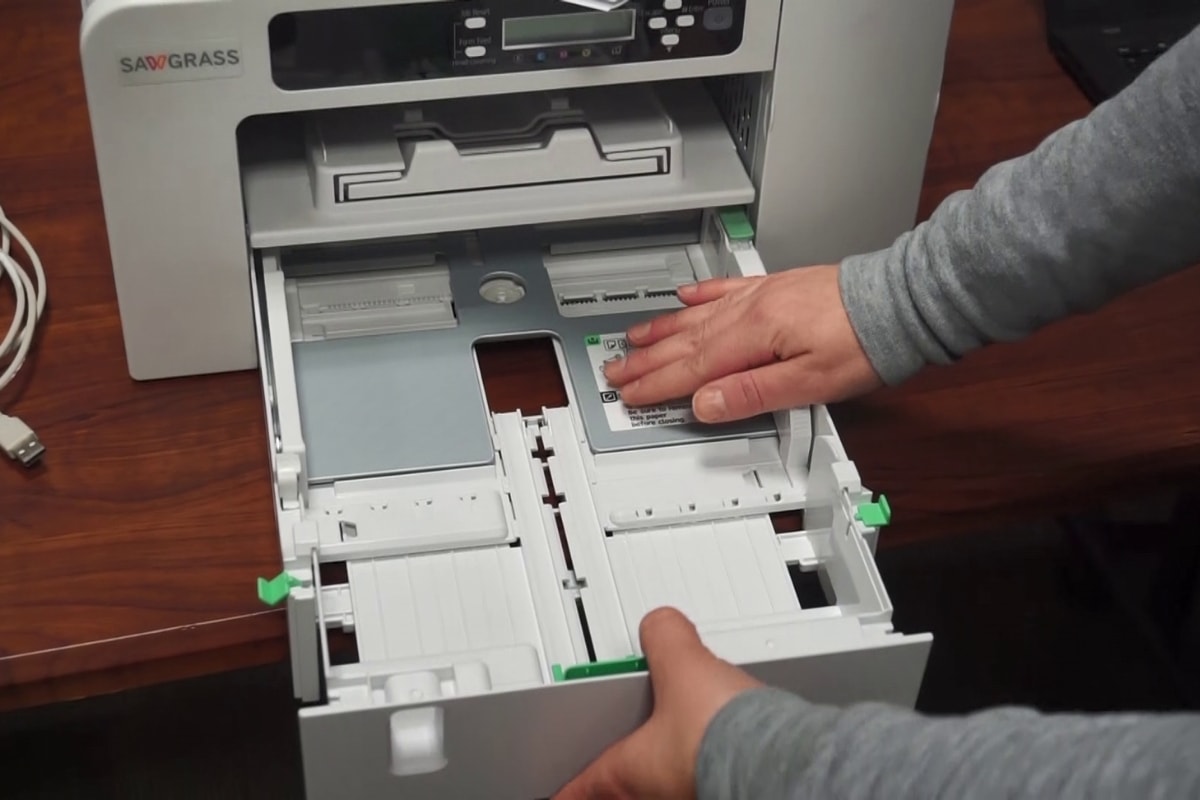
Next, load your sublimation paper into your paper tray. If you did not purchase a bypass tray for your printer, you will want to pull the paper tray out (this tray is located on the front of the printer) and place your paper in. You may notice that your 8.5” x 14” paper does not fit properly as the tray comes fitted for 8.5” x 11” paper by default.
To adjust for 8.5” x 14” paper, slide the two white bars to the inner side pieces, pinch and slide the green tray guide to the front of the tray, and then push the green tabs on the left and right of the tray out. You will now be able to move the tray out to its full capacity and load your paper. After loading your paper, push the green tabs back in, and push the paper tray back in.
Note: you will notice that your sublimation paper likely has a bright white side and a duller, off-white side – or a grid. The bright white side should be inserted face-down. This is the side it prints on.
Step 4: (Optional) Bypass Tray
With both the SG400 and SG800, you have the option to add a bypass tray to achieve larger print sizes. The SG400 bypass tray allows printing up to 8.5” x 50” while the SG800 bypass tray allows printing up to 13” x 19”.
To install your bypass tray, you will notice on the back on your printer you have an installation port on the left hand side. Take your bypass tray and connect the two installation pieces on the tray to the two installation ports on the printer back.
The next step is to install your bypass tray on the printer itself. Follow these steps on your SG400 or SG800’s screen:
- Press Menu
- Choose Paper Input, press enter
- Select Auto Tray Select, enter
- Select Bypass Tray, enter
- Select on, enter
- Press Escape once
- Select Tray Priority, enter
- Select Bypass tray, enter
- Press Escape
- Select Tray Paper Size, select Bypass Tray, enter
- Select 12x18, enter
- Escape all the way out of the menu option until you are back to the Ready Screen on your printer.
When inserting your sublimation paper into the bypass tray, the print side (i.e. the bright white side) should be facing you.
Step 5: Installing Virtuoso Print Manager
Now that your printer is set up, you will move onto installing Virtuoso Print Manager (VPM). VPM provides color correction to ensure your prints are accurate, as well as other tools to improve your printing efficiency. To install VPM, open your browser on your computer and navigate to www.sawgrassink.com. From the Sawgrass homepage, locate “Products” and select software > Virtuoso Print Manager, and then click Download Virtuoso Print Manager.

At this point, you will need to register an account if you are a first-time user. Otherwise, you may login with your credentials. Once you’ve registered and logged in, choose the appropriate operating system (Windows or Mac), and your download will start.
Once the download is complete, a setup box will appear. If the setup box does not appear you should be able to locate the file you downloaded in your downloads folder. You will be prompted through several selections on setup: language, terms agreement, and component options. Installation will take place at this time. Once completed, select “Reboot now” to access Virtuoso Print Manager and install your printer.
6. Installing Your Printer
It’s now time to complete the installation of your printer and register it. Once your system has rebooted, click on the new Sawgrass VPM box on your desktop. Then, follow these steps to get your printer installed properly:
- Agree to Sawgrass’s terms
- Select your printer model at the “Printer Driver” prompt box and click install
- Accept Sawgrass’ terms
- Select “Add a new printer”, click next
- Select “Connect USB cable”, click next
- Double check that your printer is still turned off, and your USB cable is disconnected
- Wait for files to copy
- Turn your printer on and connect your USB cable to your printer and computer. Wait for auto-detect.
7. Printer Registration
After going through the installation steps, you will be prompted to register your printer. To register, you will need to obtain a code through Sawgrass, which just takes a few steps. Here are the steps for obtaining the code and getting it registered:
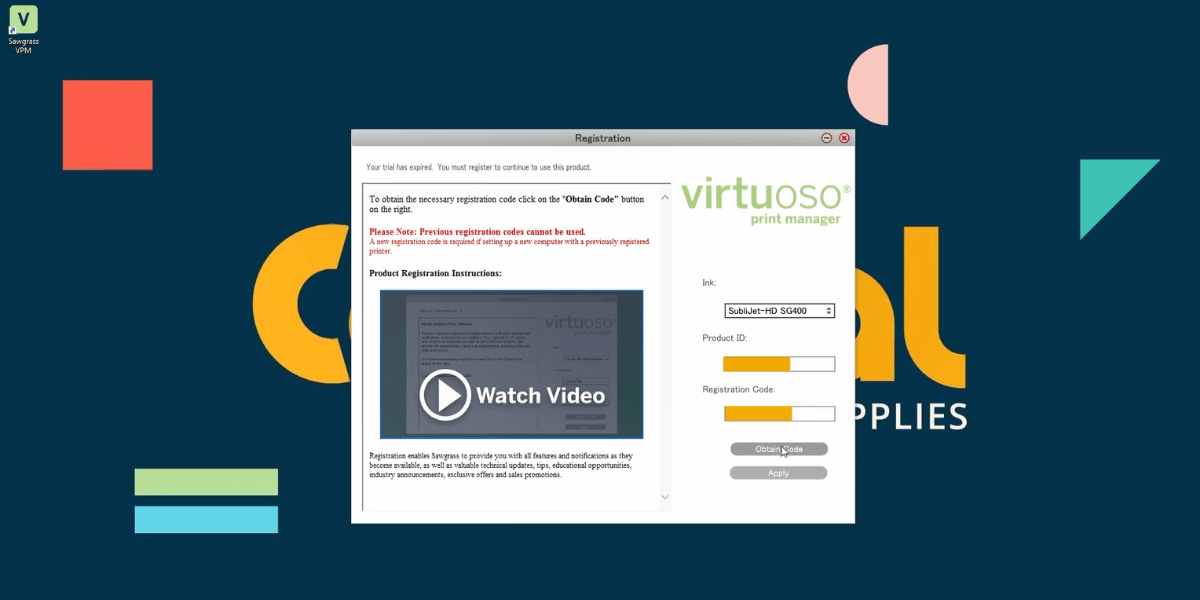
- Select your ink
- Select “Obtain Code”
- Select “New Registration”
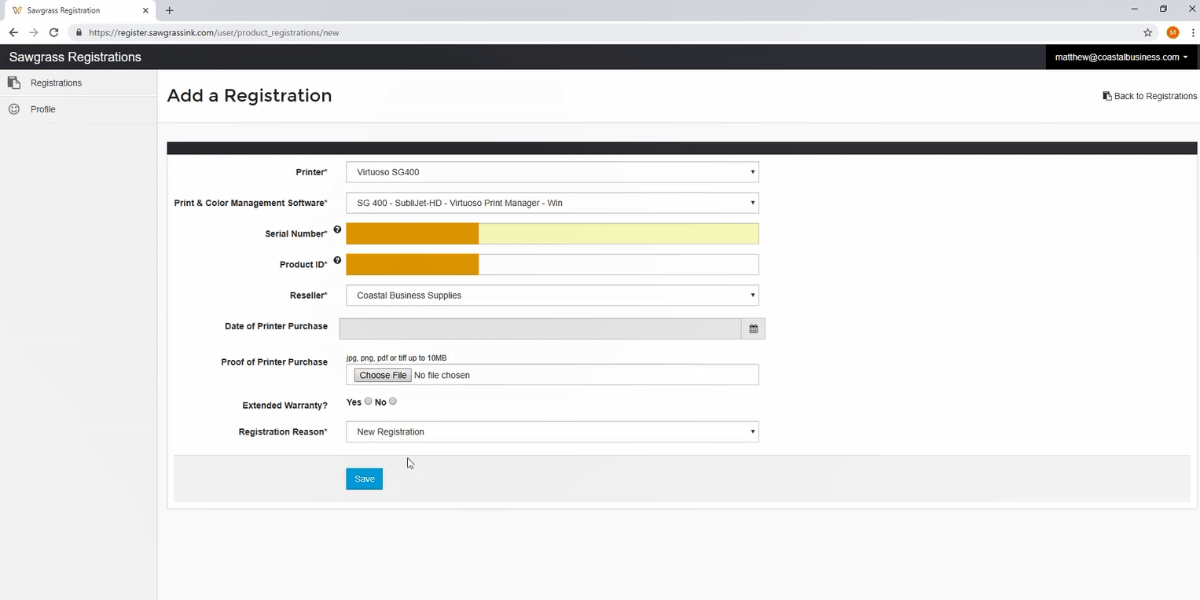
- When you come to “Add a Registration,” fill in the required fields including the printer, software, serial number (found on the back of your printer), and the company you purchased your printer from. You can also add your proof of printer purchase and select whether or not you purchased an extended warranty.
- Click “Apply”
- You will be directed to a success page. Copy the registration code on the page, minimize the page, and paste the code into your Sawgrass VPM registration window.
- Click “Apply”
After you’ve successfully registered your printer, an Input Tray Settings box will appear with Tray 1 as the selection. Keep this as your selection and select OK.
All Done!
Congratulations! Your new Sawgrass SG400 or SG800 printer is set up! Happy sublimating! If you need additional assistance with installation, don’t hesitate to give our technical support department a call at 1-800-562-7760, option #3. You may also reach out to Sawgrass Support at 1-888-253-1679.


0 Comments
Leave a Comment