Mastering Design Alignment with Heat Transfers: A Guide to a Perfect Press
Achieving accurate design alignment is essential for producing professional, high-quality heat transfer products. Poor alignment can make even the best designs look unpolished, while crisp, well-placed prints give your work a professional finish. In this guide, we’ll cover key techniques, tips, and tools to help you achieve perfect design placement on T-shirts.
Why it’s Important to have Accurate Design Placement
When it comes to customizing T-shirts, precision matters. Whether you’re creating branded apparel, personalized gifts, or custom uniforms, the way you position your design impacts the final look. Poorly aligned transfers can make even a great design look off-center or awkward, while a well-placed design enhances the overall presentation of your product.
Popular Heat Transfer Design Placements for T-Shirts
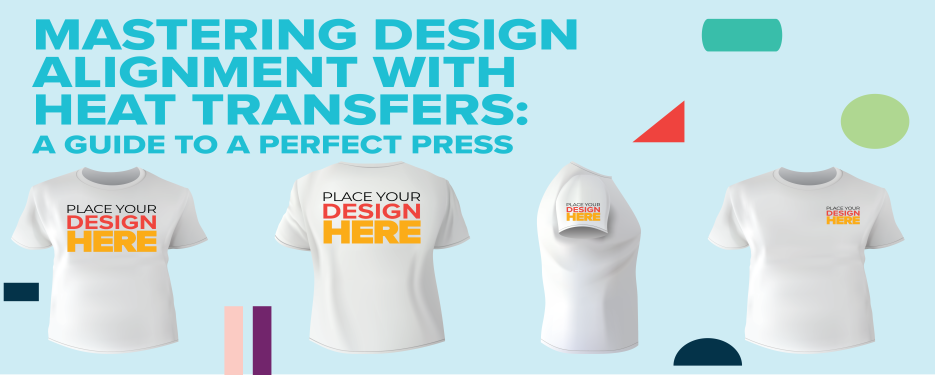
Getting familiar with the most common design placements on T-shirts helps ensure your designs are always visually appealing. Here are the popular areas:
- Center Chest: Ideal for larger designs, logos, or text that you want to be the focal point.
- Left Chest: Often used for smaller logos or emblems, especially in branded or uniformed clothing.
- Full Back: Perfect for large designs that span the upper back, commonly used in sports or team apparel.
- Sleeves: A great spot for smaller details, logos, or text, especially when branding or adding unique flair to the garment.
Choosing the Right Placement
Choosing where to place your design depends on the purpose of the shirt and the aesthetic you want to achieve. Here are some general guidelines to help you decide:
- Chest Logos: Typically 3-4 inches below the collar for adult T-shirts. For youth or plus sizes, adjust accordingly by removing or adding an inch.
- Full-Back Designs: Start the design about 5 inches below the collar.
- Sleeve Designs: Measure 1 inch from the hem, ensuring the design is centered on the sleeve.
Techniques for Precise Heat Press Design Placement
Accurate placement of your design can be a game-changer. Here are some methods to ensure precision:
Use a T-Shirt Alignment Ruler or Guide
Invest in rulers or guides designed specifically for T-shirts. These tools have markings for different design placements, such as chest logos or full-back designs, allowing you to quickly and accurately position your designs before pressing.
Centering Designs on the Chest
For chest designs, fold the shirt in half and lightly press to create a guide for centering your design. This technique works especially well for chest logos, ensuring the design is straight and centered.
Back Design Placement
For larger back designs, fold the shirt in half vertically and place the design about 5 inches from the collar. Smaller back logos should be positioned around 2 inches from the neckline.
Arm Placement
Sleeve designs can be trickier due to the curve of the sleeve. Measure 1 inch from the hem and center the design horizontally on the sleeve. A sleeve platen for your heat press can make this process smoother and help prevent misalignment.
Use a Lightly Pressed Fold for Reference
Create a centerline by folding the shirt lengthwise and pressing lightly. You can also fold horizontally at the chest area for cross-references. This helps you align designs perfectly, especially for symmetrical placements.
Additional Tips and Considerations
Test on Sample Shirts
Before committing to a large batch, always print on test shirts or scrap fabric. Testing allows you to check the design size, placement, and final look before mass production, saving you from potential costly mistakes.
Use Heat-Resistant Tape or Laser Alignment Systems
To prevent your design from shifting once it's placed on the shirt, secure it with heat-resistant tape. For added precision, consider using a laser alignment system to ensure accurate placement for different sizes and designs. These tools help maintain consistency, especially when working on bulk orders.
Consistency with Bulk Orders
When working on large orders, batch your work by design and shirt size. This ensures a consistent workflow, allowing you to use your rulers and guides efficiently across similar garments.
Train Your Eye for Symmetry
Over time, you’ll develop an eye for spotting alignment issues. However, it’s always a good idea to double-check your placements with a ruler or measuring tape to maintain precision.
Consider Using Design Software Templates
Design software like Adobe Illustrator, CorelDRAW, or free tools like Canva offer templates that allow you to visualize your design placements on a virtual T-shirt before pressing. This is a great way to ensure proportions and alignment look correct before heat transfer.
Mastering Design Alignment Takes Practice
Mastering design alignment on T-shirts requires practice, but with the right tools and techniques, you can consistently produce flawless, professional-looking products. Follow these steps and tips to streamline your process and ensure every T-shirt transfer is perfectly placed! Have additional questions? Contact our team by chat, email, or phone.


0 Comments
Leave a Comment