Decorating With TheMagicTouch CPM 6.2 Hard Surface Heat Transfer Paper
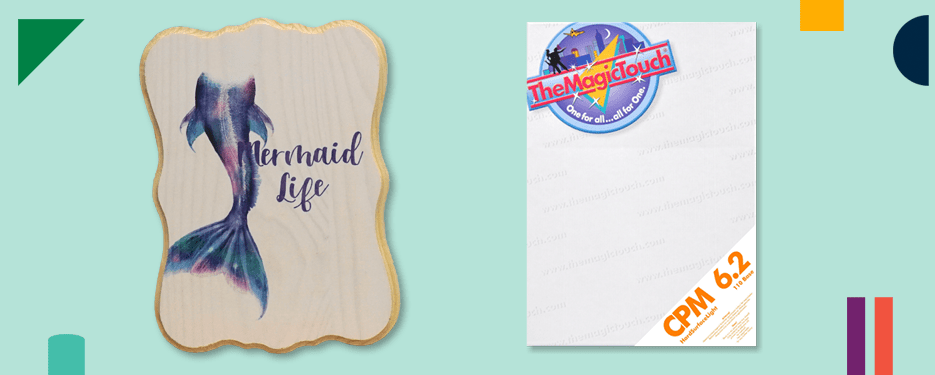
Pop quiz! Is it possible to decorate hard surfaces using your laser printer and press? If you answered yes, you’re correct! When we think about heat transfer paper, we often assume that we can only decorate on T-shirts and other garments, and that is true for most heat transfer papers. However, there are certain specialty papers such as TheMagic Touch CPM 6.2 that allow you to transfer designs to a wide range of hard surface substrates such as wood, metal, ceramic, leather and more.
Wait, How Is This Different From Sublimation?
We’re glad you asked! A common question we receive, especially with regard to decorating mugs with CPM 6.2, is how is this different from sublimation? It’s important to note that while you can decorate a lot of the same substrates with both sublimation and CPM 6.2 heat transfer, there are some very key differences.
First, the two processes use different types of printers. CPM 6.2 requires a laser printer (for best results, a white toner laser printer such as an OKI) while sublimation requires a sublimation printer such as the Sawgrass SG500. The two types of printers are distinct from one another as laser printers utilize dry toner while sublimation printers use a special type of ink.
Second, for sublimation to work, your substrate needs to have a polymer coating or be made of polyester. The coating or polyester should also be white or very light-colored. This is because sublimation ink binds to the polymer and becomes part of the material – rather than leaving a layer on top. This yields incredibly durable and vibrant finished products. On the other hand, CPM 6.2 does not require a polymer coating or polyester material but instead applies a thin layer on the substrate’s surface. This provides less durability than sublimation but allows you to print on a wider range of materials and colors (darks and lights).
Great! Can You Show Me How to Use CPM 6.2 Paper?
Absolutely! Let’s go through how you can use CPM 6.2 to start decorating your own products. In our example, we will show you how to transfer designs to unfinished wood, but you can use CPM 6.2 on many different materials.
Supplies Needed:
• TheMagicTouch CPM 6.2 Heat Transfer Paper
• Unfinished wood substrate
• Silicone-treated sheets
• Thermal tape
• Heat press
• Laser printer (For best results, use Crio white toner printer)
Step 1: Create and Print Your Design
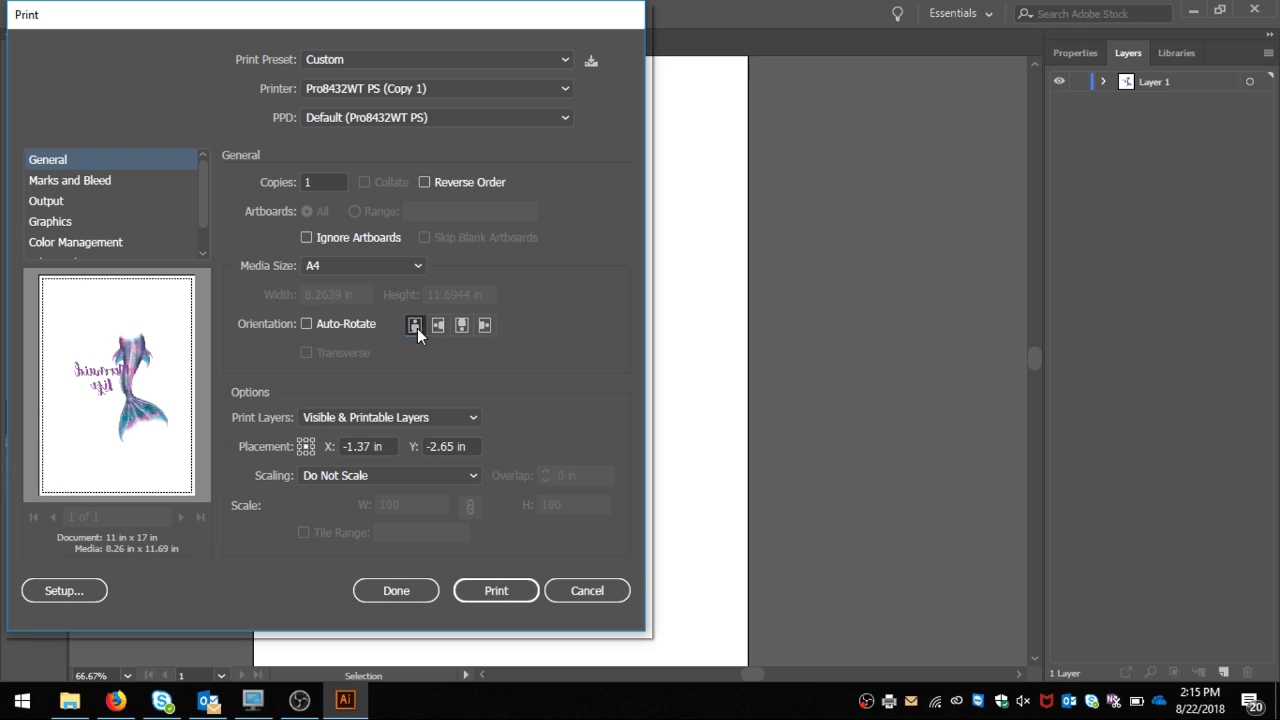
Your first step to decorating with CPM 6.2 is to create your design using your favorite design software. If you are printing using an OKI laser printer, we recommend designing in Adobe Photoshop or Illustrator as they are most compatible with OKI printers. Before printing, remember to mirror/reflect your design vertically – when you transfer your image, it will be facing the correct way.

When you go to print, set your media size to A4 and orientation to portrait. If you are printing on an OKI laser printer, such as the Crio 8432WT we used, you will want to go into your printing preferences and select “multi-purpose tray” as your paper source and set your media to plain. Under “job options” in printing preferences, there is an option for “mirror print.” If you already mirrored your image, uncheck this box.
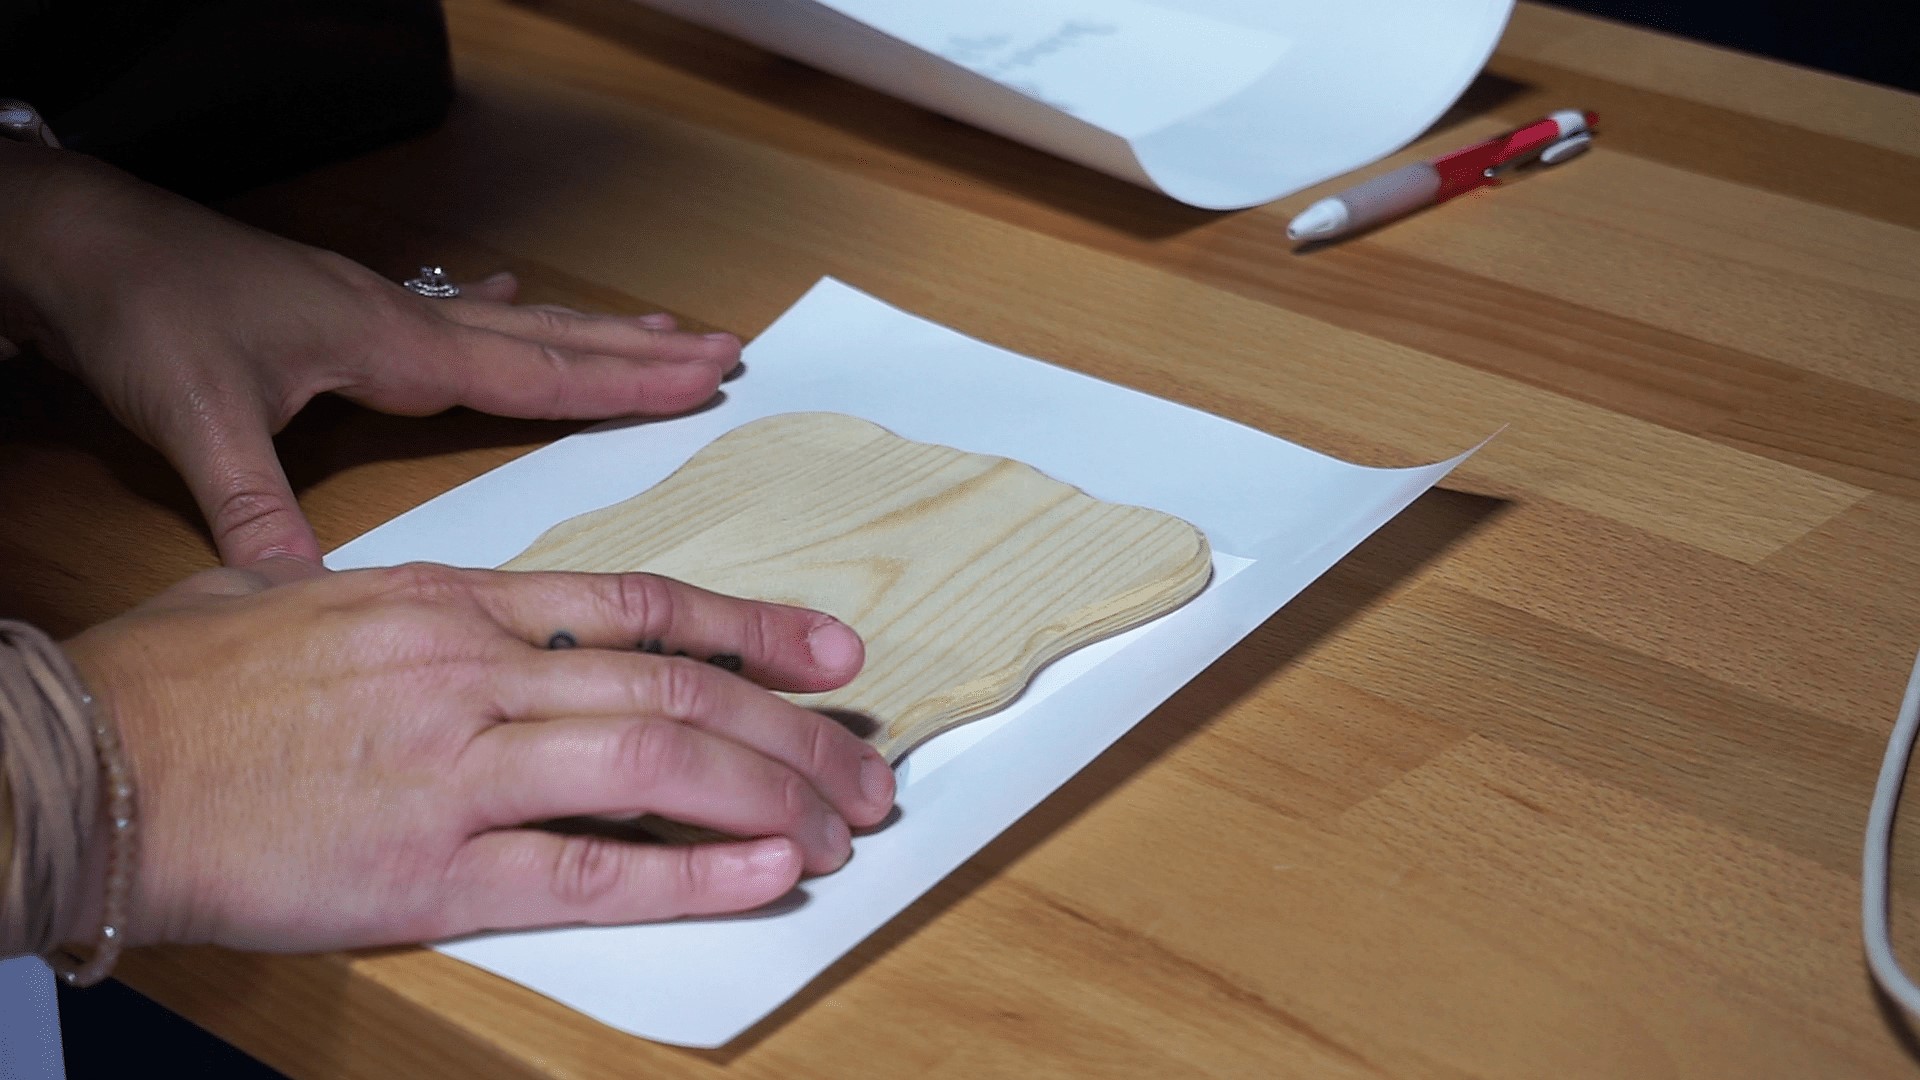
Step 2: Align and Fasten to Substrate
Once you’ve printed your design, take your unfinished wood substrate and align it with your design. Use thermal tape to adhere the paper to the substrate, so it doesn’t move when you press it.
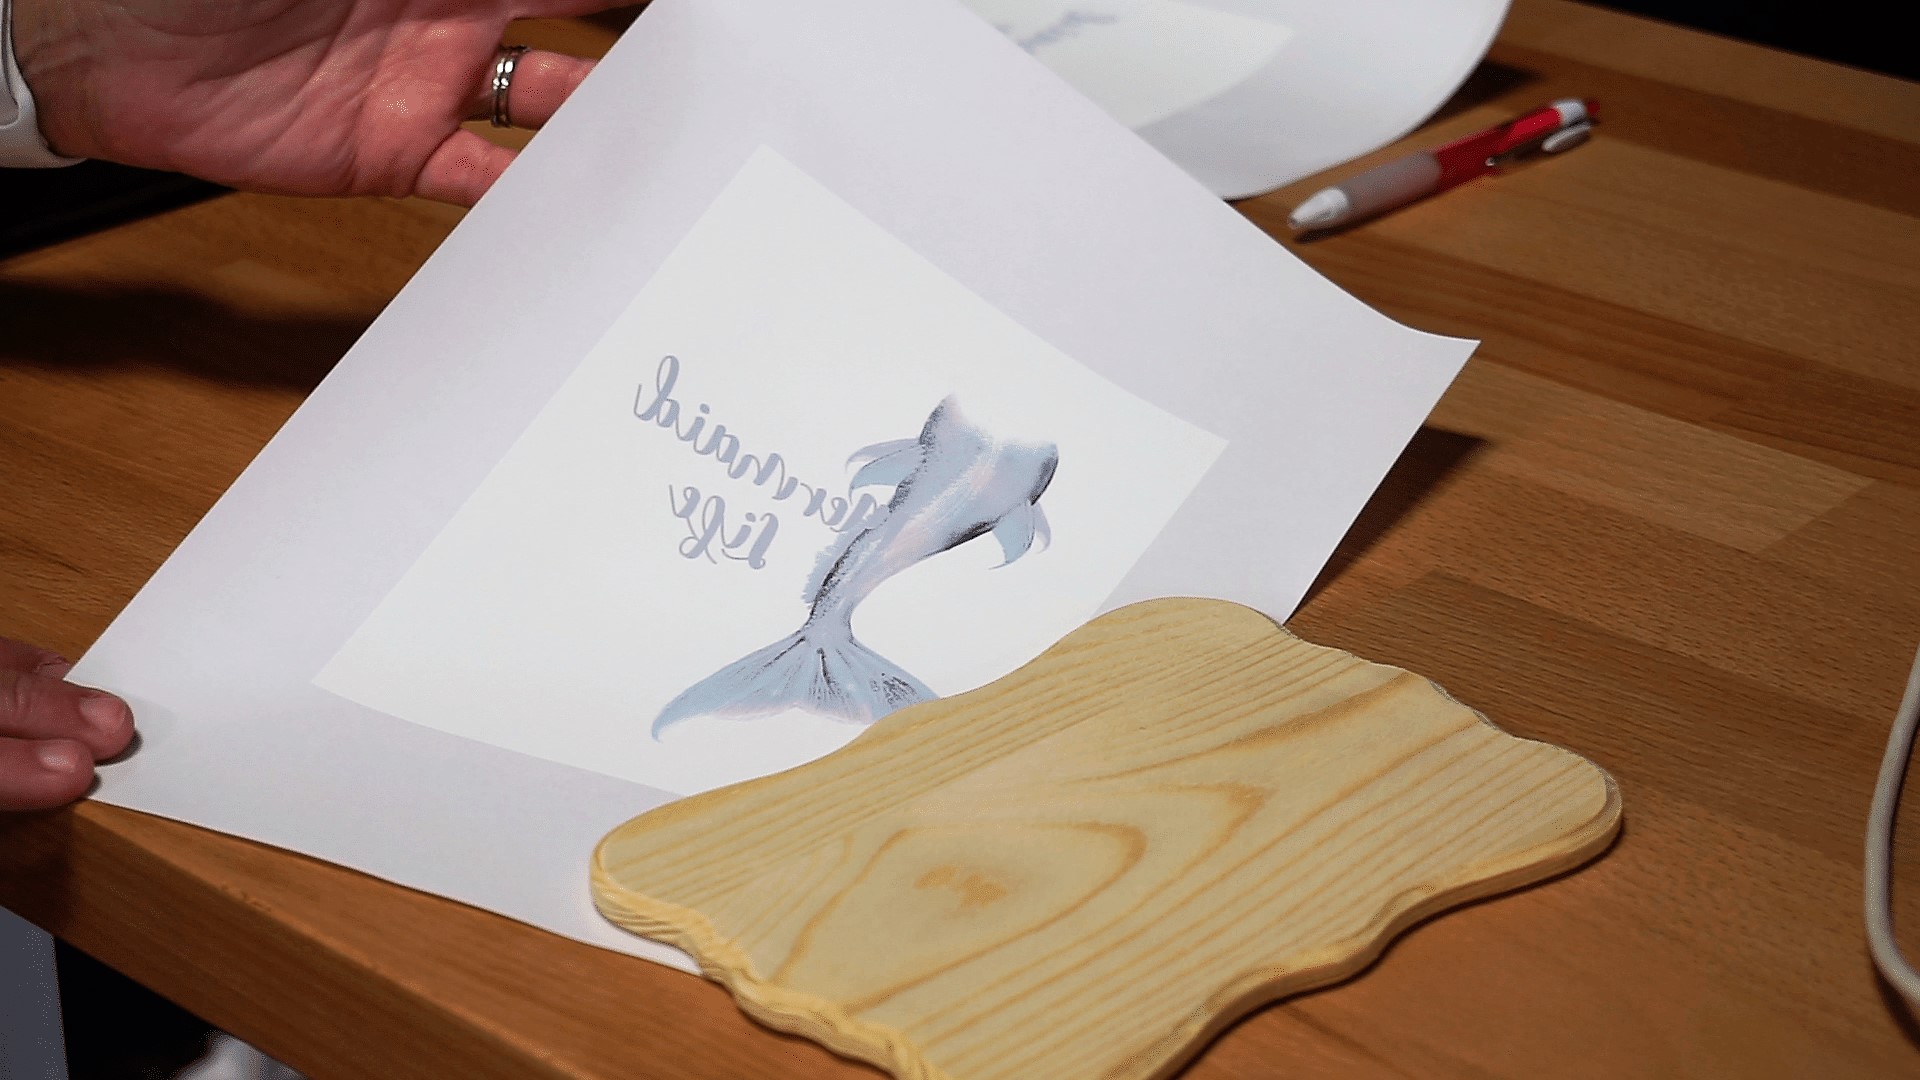
Something you may notice in the photos is that we printed a white background in addition to the design. When decorating wood and other materials, you can leave a white or colored background for some fun effects!
Step 3: Time to Heat Press!
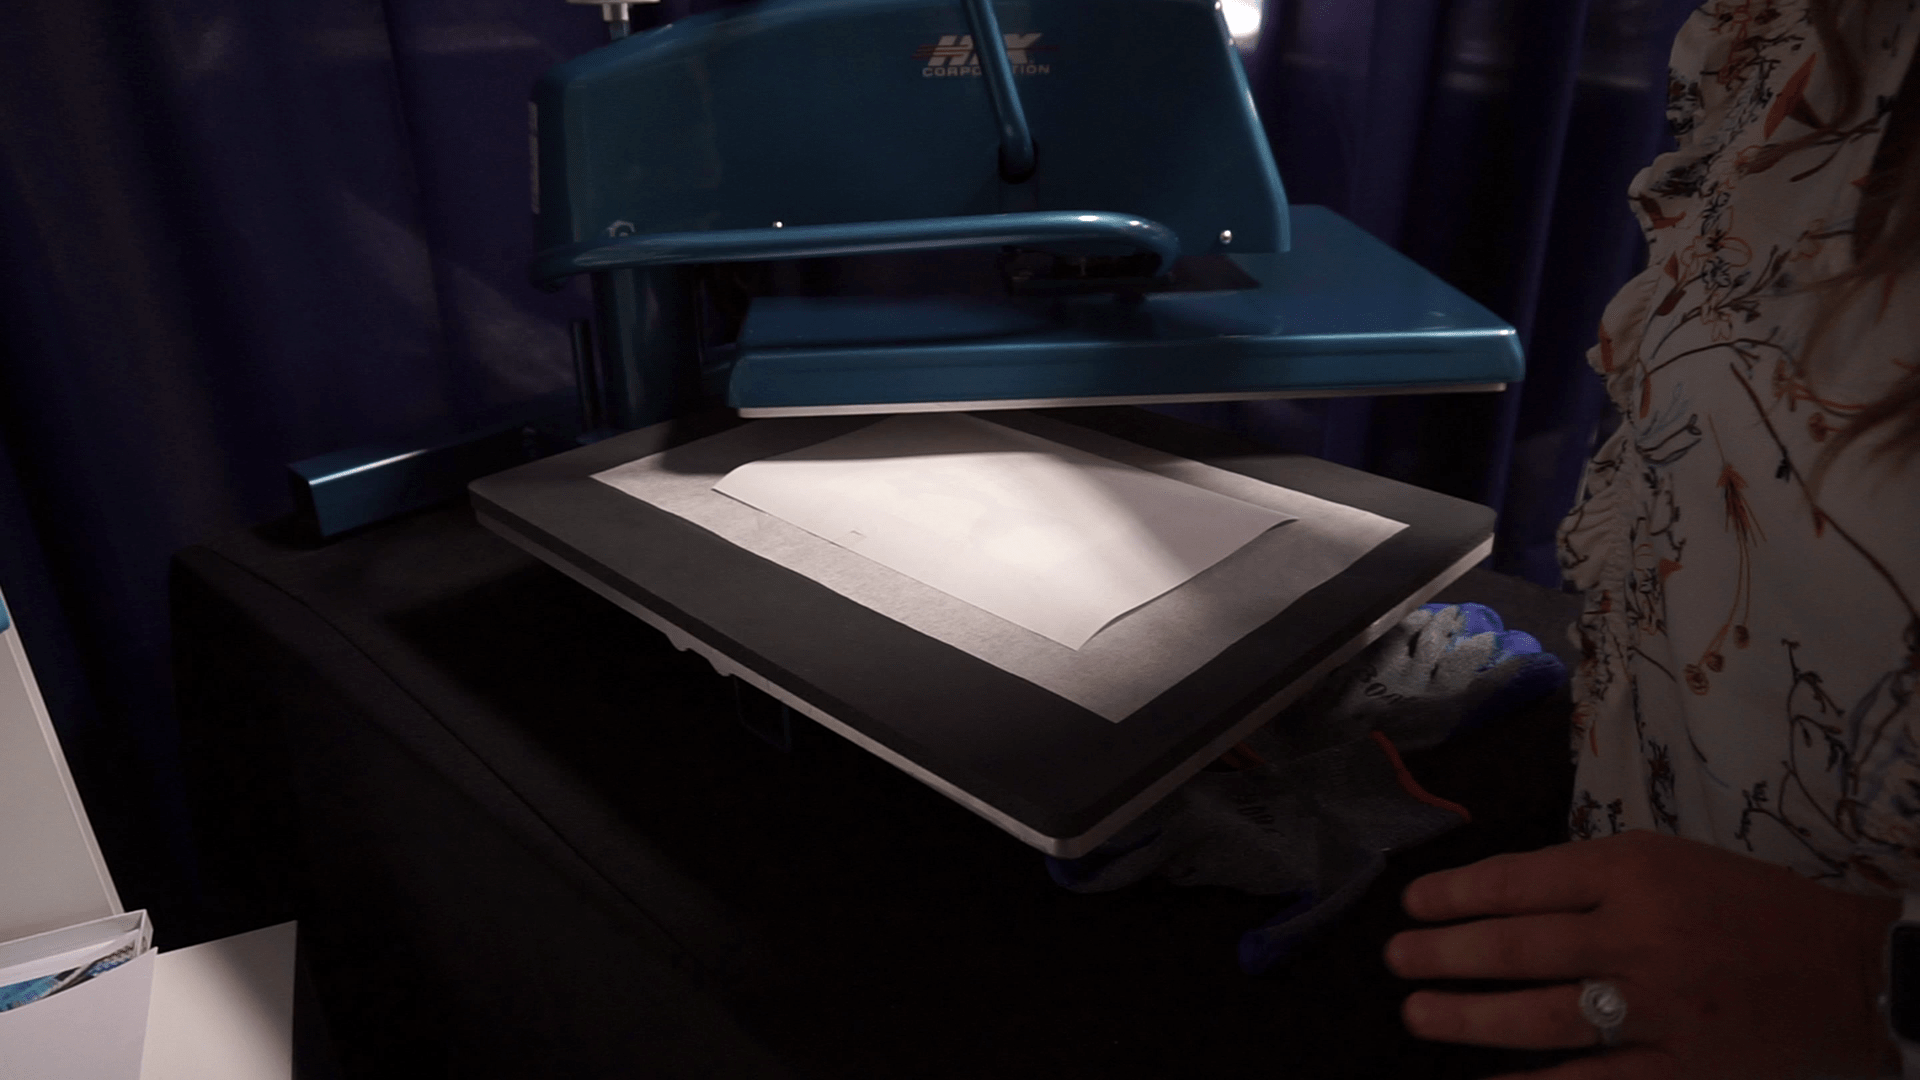
Place your substrate on top of a silicone sheet on your heat press. With CPM 6.2 paper, we recommend using a swing-away heat press if possible for even heat distribution.
Next, ensure that the CPM 6.2 paper is facing down and press at 300°F for 60 seconds with a medium to heavy pressure. Note that your temperatures and times will vary based on your substrate. See our detailed instructions sheet to find all of the time and temperature settings.
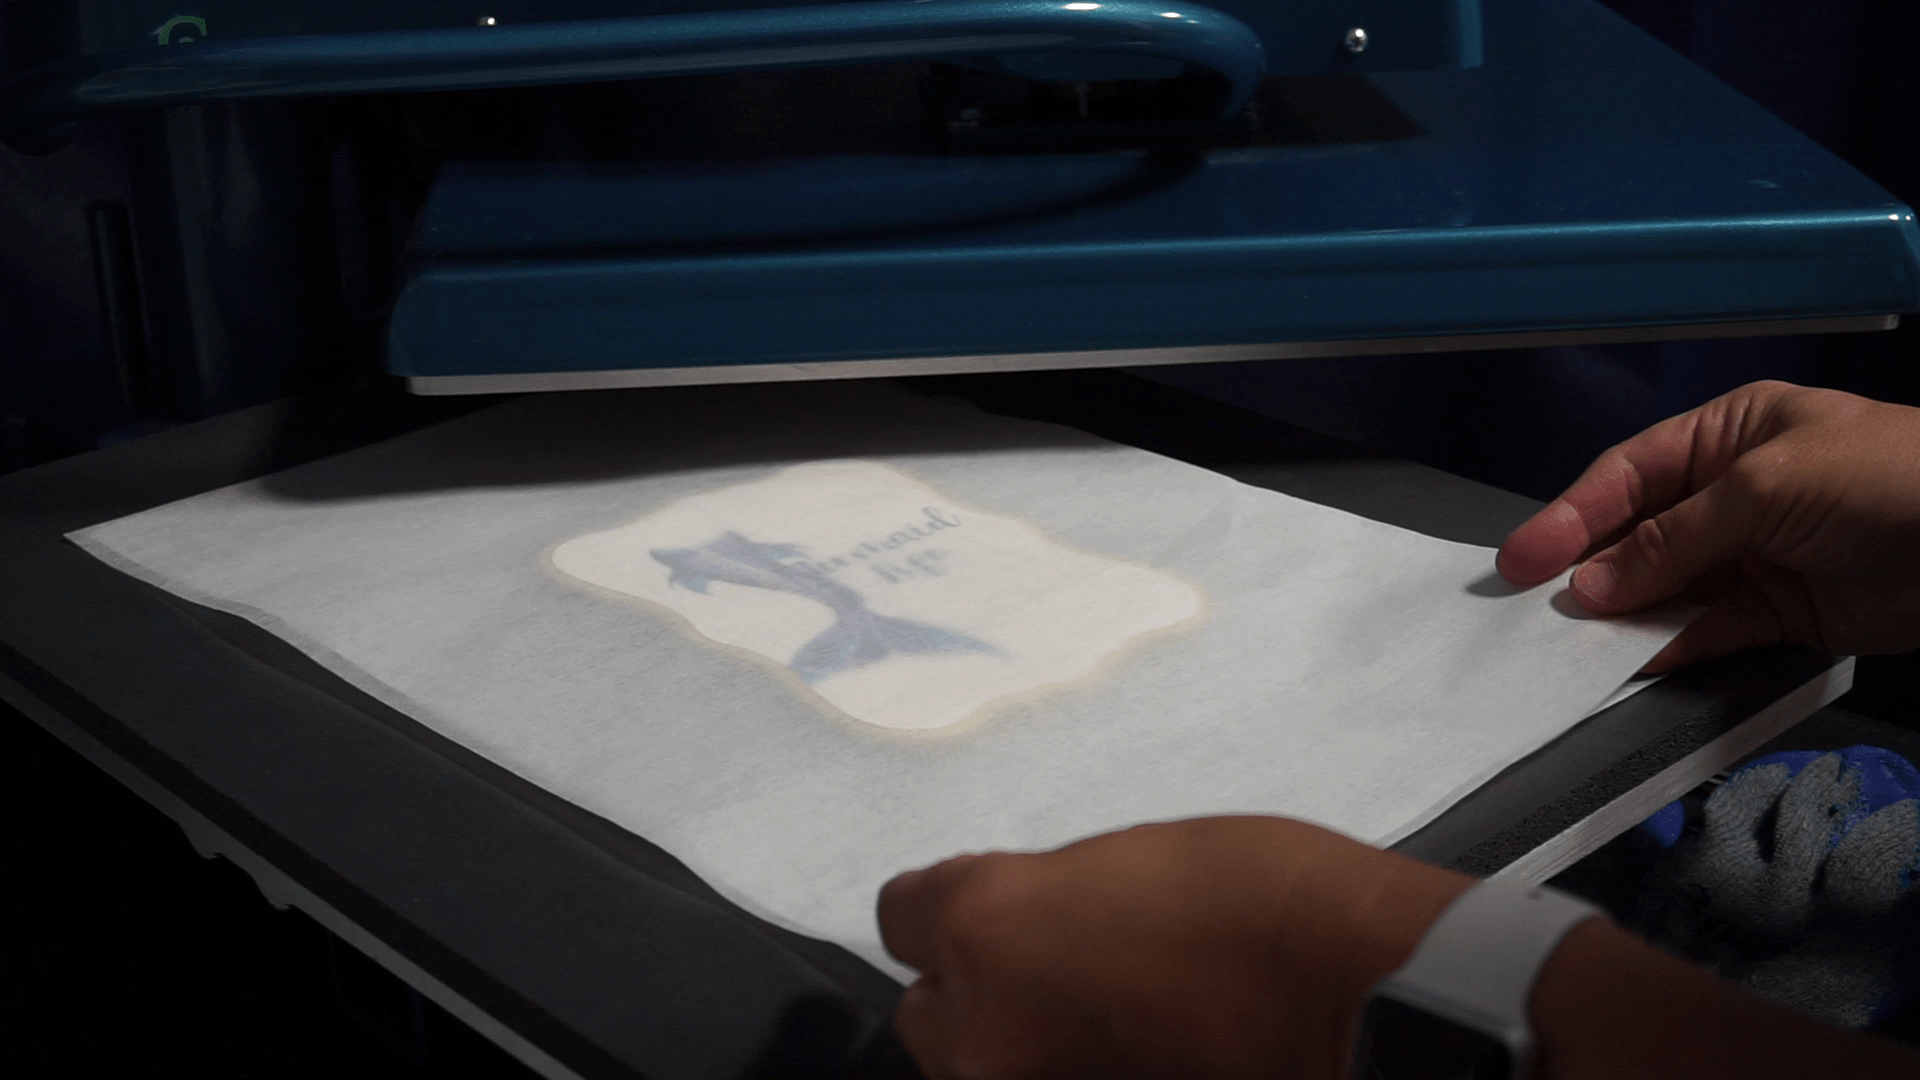
Step 4: Peel and Re-Press
Remove the thermal tape and peel quickly while hot. Peel temperature also varies by substrate, refer again to our instructions sheet to know when you should peel hot or cold!
After you peel away the transfer paper, you will notice some lingering residue on your design. This is normal! Cover your substrate with a silicone or parchment sheet and press again for 10 seconds. This will remove the residue, leaving you with a beautiful finished product!
That’s a Wrap!
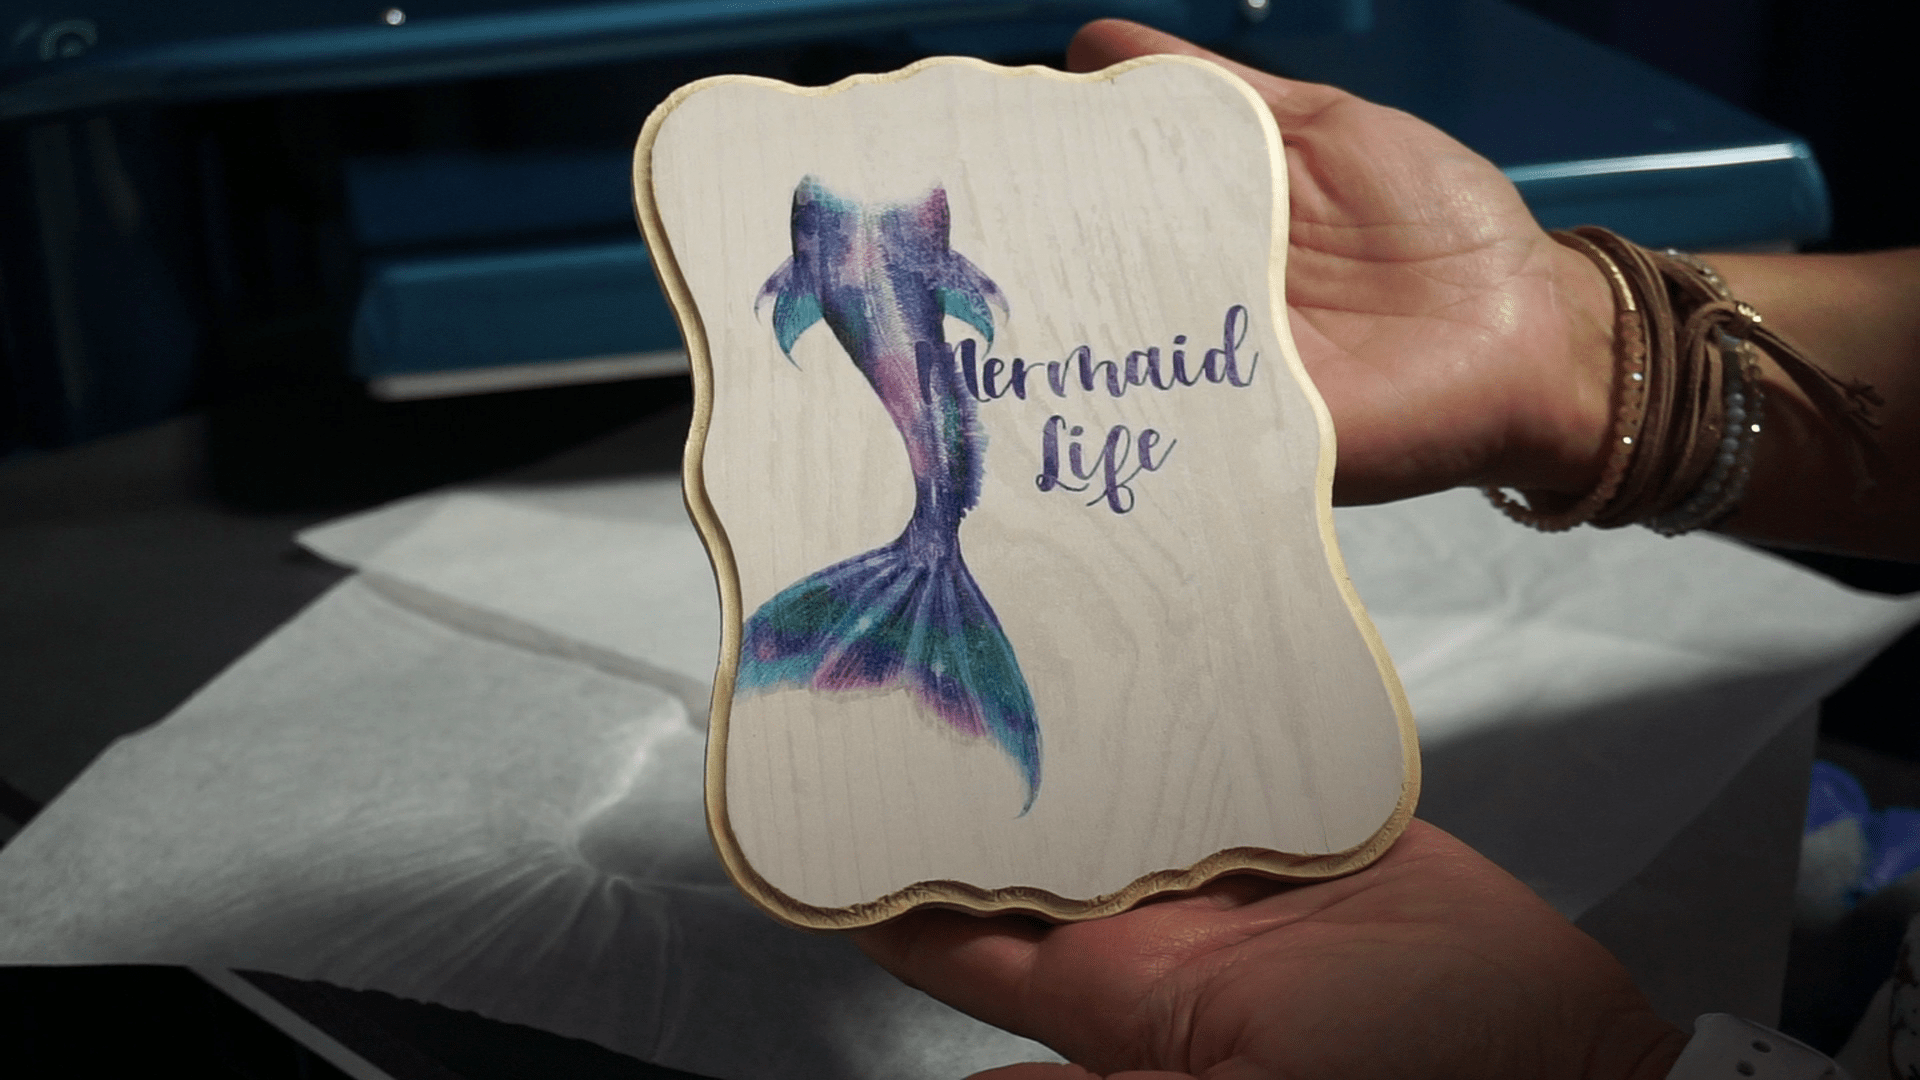
That’s it – you’re ready to start creating your own custom products with TheMagicTouch CPM 6.2 Hard Surface Heat Transfer Paper. To pick up your own pack of CPM 6.2 paper, visit coastalbusiness.com. If you have any questions about TheMagicTouch CPM 6.2 and how your business can take advantage of it, give our Customer Success Team a call at (800) 562-7760 or email at [email protected].


Sep 4, 2018